Chemical ID: Basic Lab Techniques for Herbalists
In a previous blog we explored the concept in herbalism of Organoleptic ID, the quality‑control practice rooted in using our senses to identify the plants we work with. Once you’ve trained your senses to read plant material through color, scent, taste, and texture, the next layer of herbal identification is chemical.
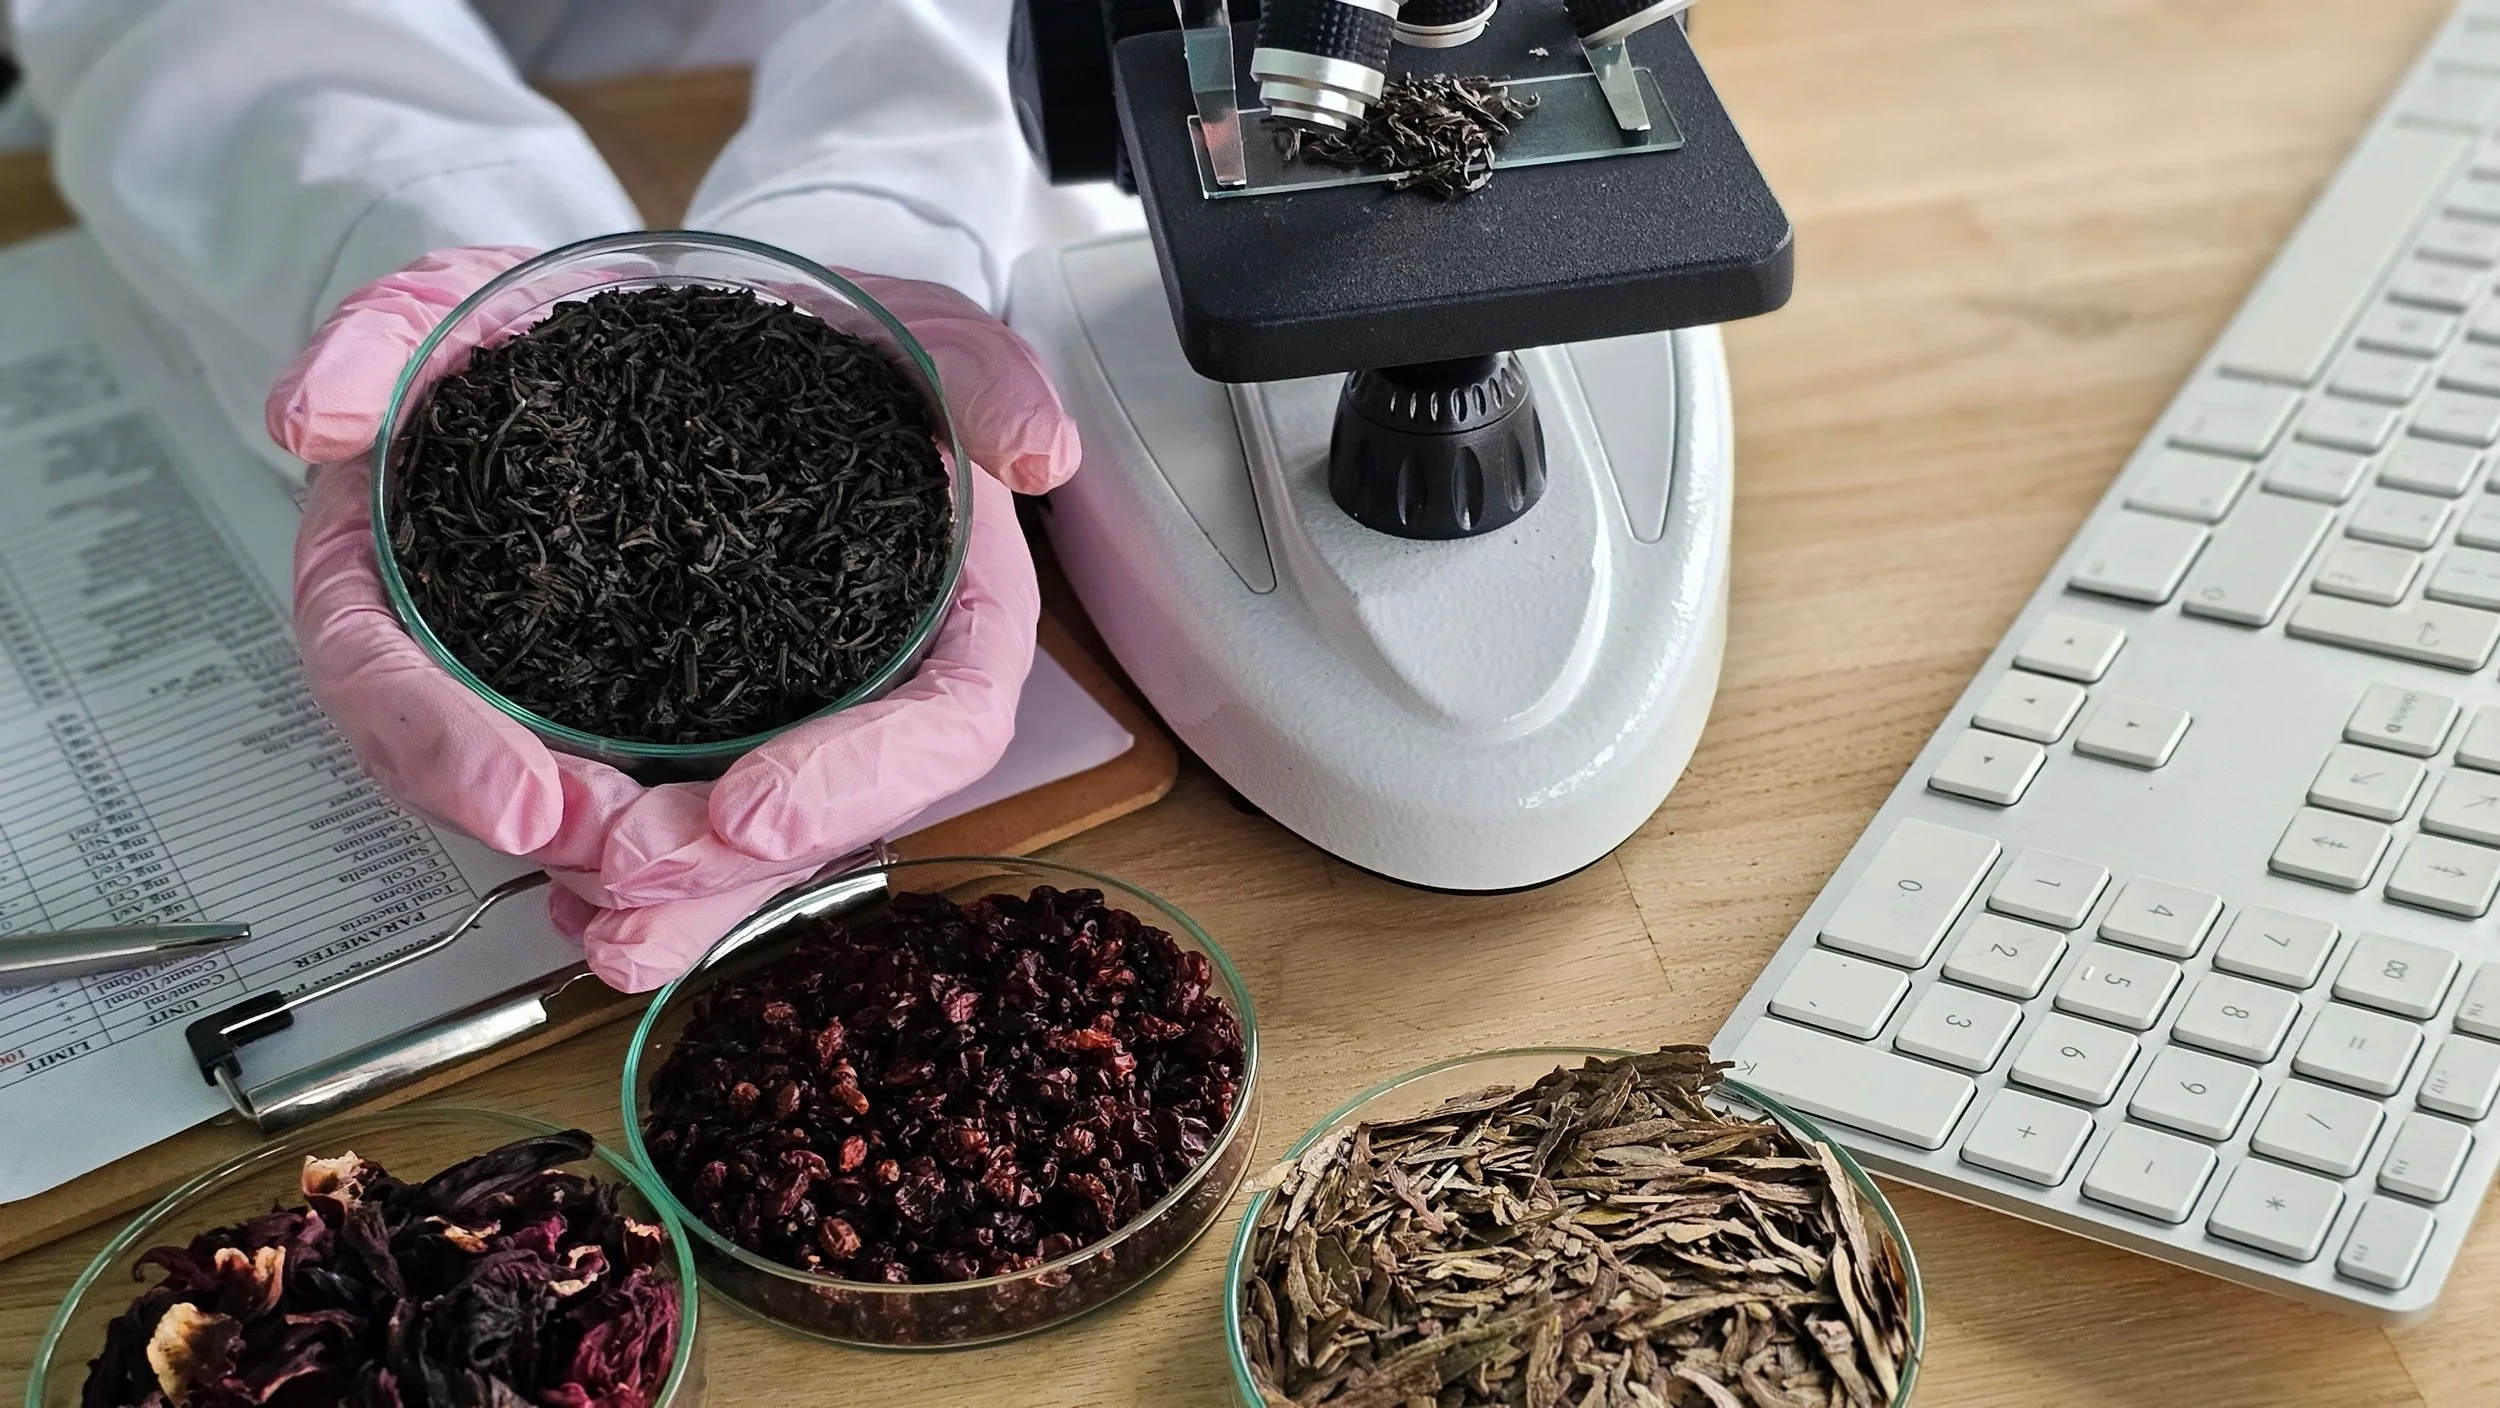
Chemical ID may sound intimidating at first, but the truth is that many foundational techniques are simple, safe, and surprisingly accessible. So don’t let the image of people in lab coats deter you. In this post, I’ll break down the concepts behind Chemical ID and offer easy, approachable ways to incorporate these techniques into your herbal practice.
Chemical identification isn’t about replacing your senses. It’s about confirming what your senses already told you, adding another layer of confidence and clarity to your herbal work. In manufacturing, these techniques help ensure consistency and safety. In a home apothecary, they help you understand your herbs more deeply and catch issues before they become problems.
Think of Chemical ID as the bridge between traditional herbalism and modern quality control.

What Chemical ID Actually Is (In Plain Language)
Chemical identification is the process of using simple chemical reactions, solvents, or visual markers to confirm the presence of certain compounds in a plant. You’re not trying to map the entire chemical profile — that’s what full analytical labs are for. Instead, you’re looking for patterns, markers, and behaviors that help validate identity and quality.
In other words:
Chemical ID is just another way of asking, “Does this plant material behave the way it should?”
Why Chemical ID Matters
Chemical ID helps you gain a deeper understanding of the plants you’re working with. It’s especially useful when you suspect a plant may have spoiled or degraded.
Beyond quality checks, Chemical ID also helps you choose the right extraction method. Different herbs have different solubility characteristics, and those characteristics determine how their medicinal compounds are best extracted.
For example, marshmallow root behaves completely differently in water than in oil.
In water, it releases its mucilage quickly, creating that thick, soothing, mucus‑like texture that makes it so supportive for digestive discomfort.
In oil, those same compounds extract much more slowly. You’ll still get some soothing qualities, but only after an extended maceration.
Chemical ID isn’t about perfection; it’s about building a deeper relationship with your herbs and understanding how they behave.
Beginner-Friendly Chemical Techniques
These are the same foundational techniques used in herbal manufacturing labs, but they can be adapted for small‑batch makers without specialized equipment.
1. Solubility Tests
Different plant compounds dissolve in different solvents. Watching how an herb behaves in water, alcohol, or vinegar can tell you a lot.
For example, let's go back to marshmallow root. Try taking the root and creating both an oil and a water infusion. Once you have both, try comparing the qualities of each. Both are soothing to the skin, just in different ways.
Try using some of the following prompts to make your assessment:
Does the color release quickly or slowly?
Does the liquid turn cloudy or stay clear?
Does sediment settle or stay suspended?
Does the plant material swell, soften, or stay firm?
These behaviors can help confirm identity, characteristics, and freshness.
2. pH Checks
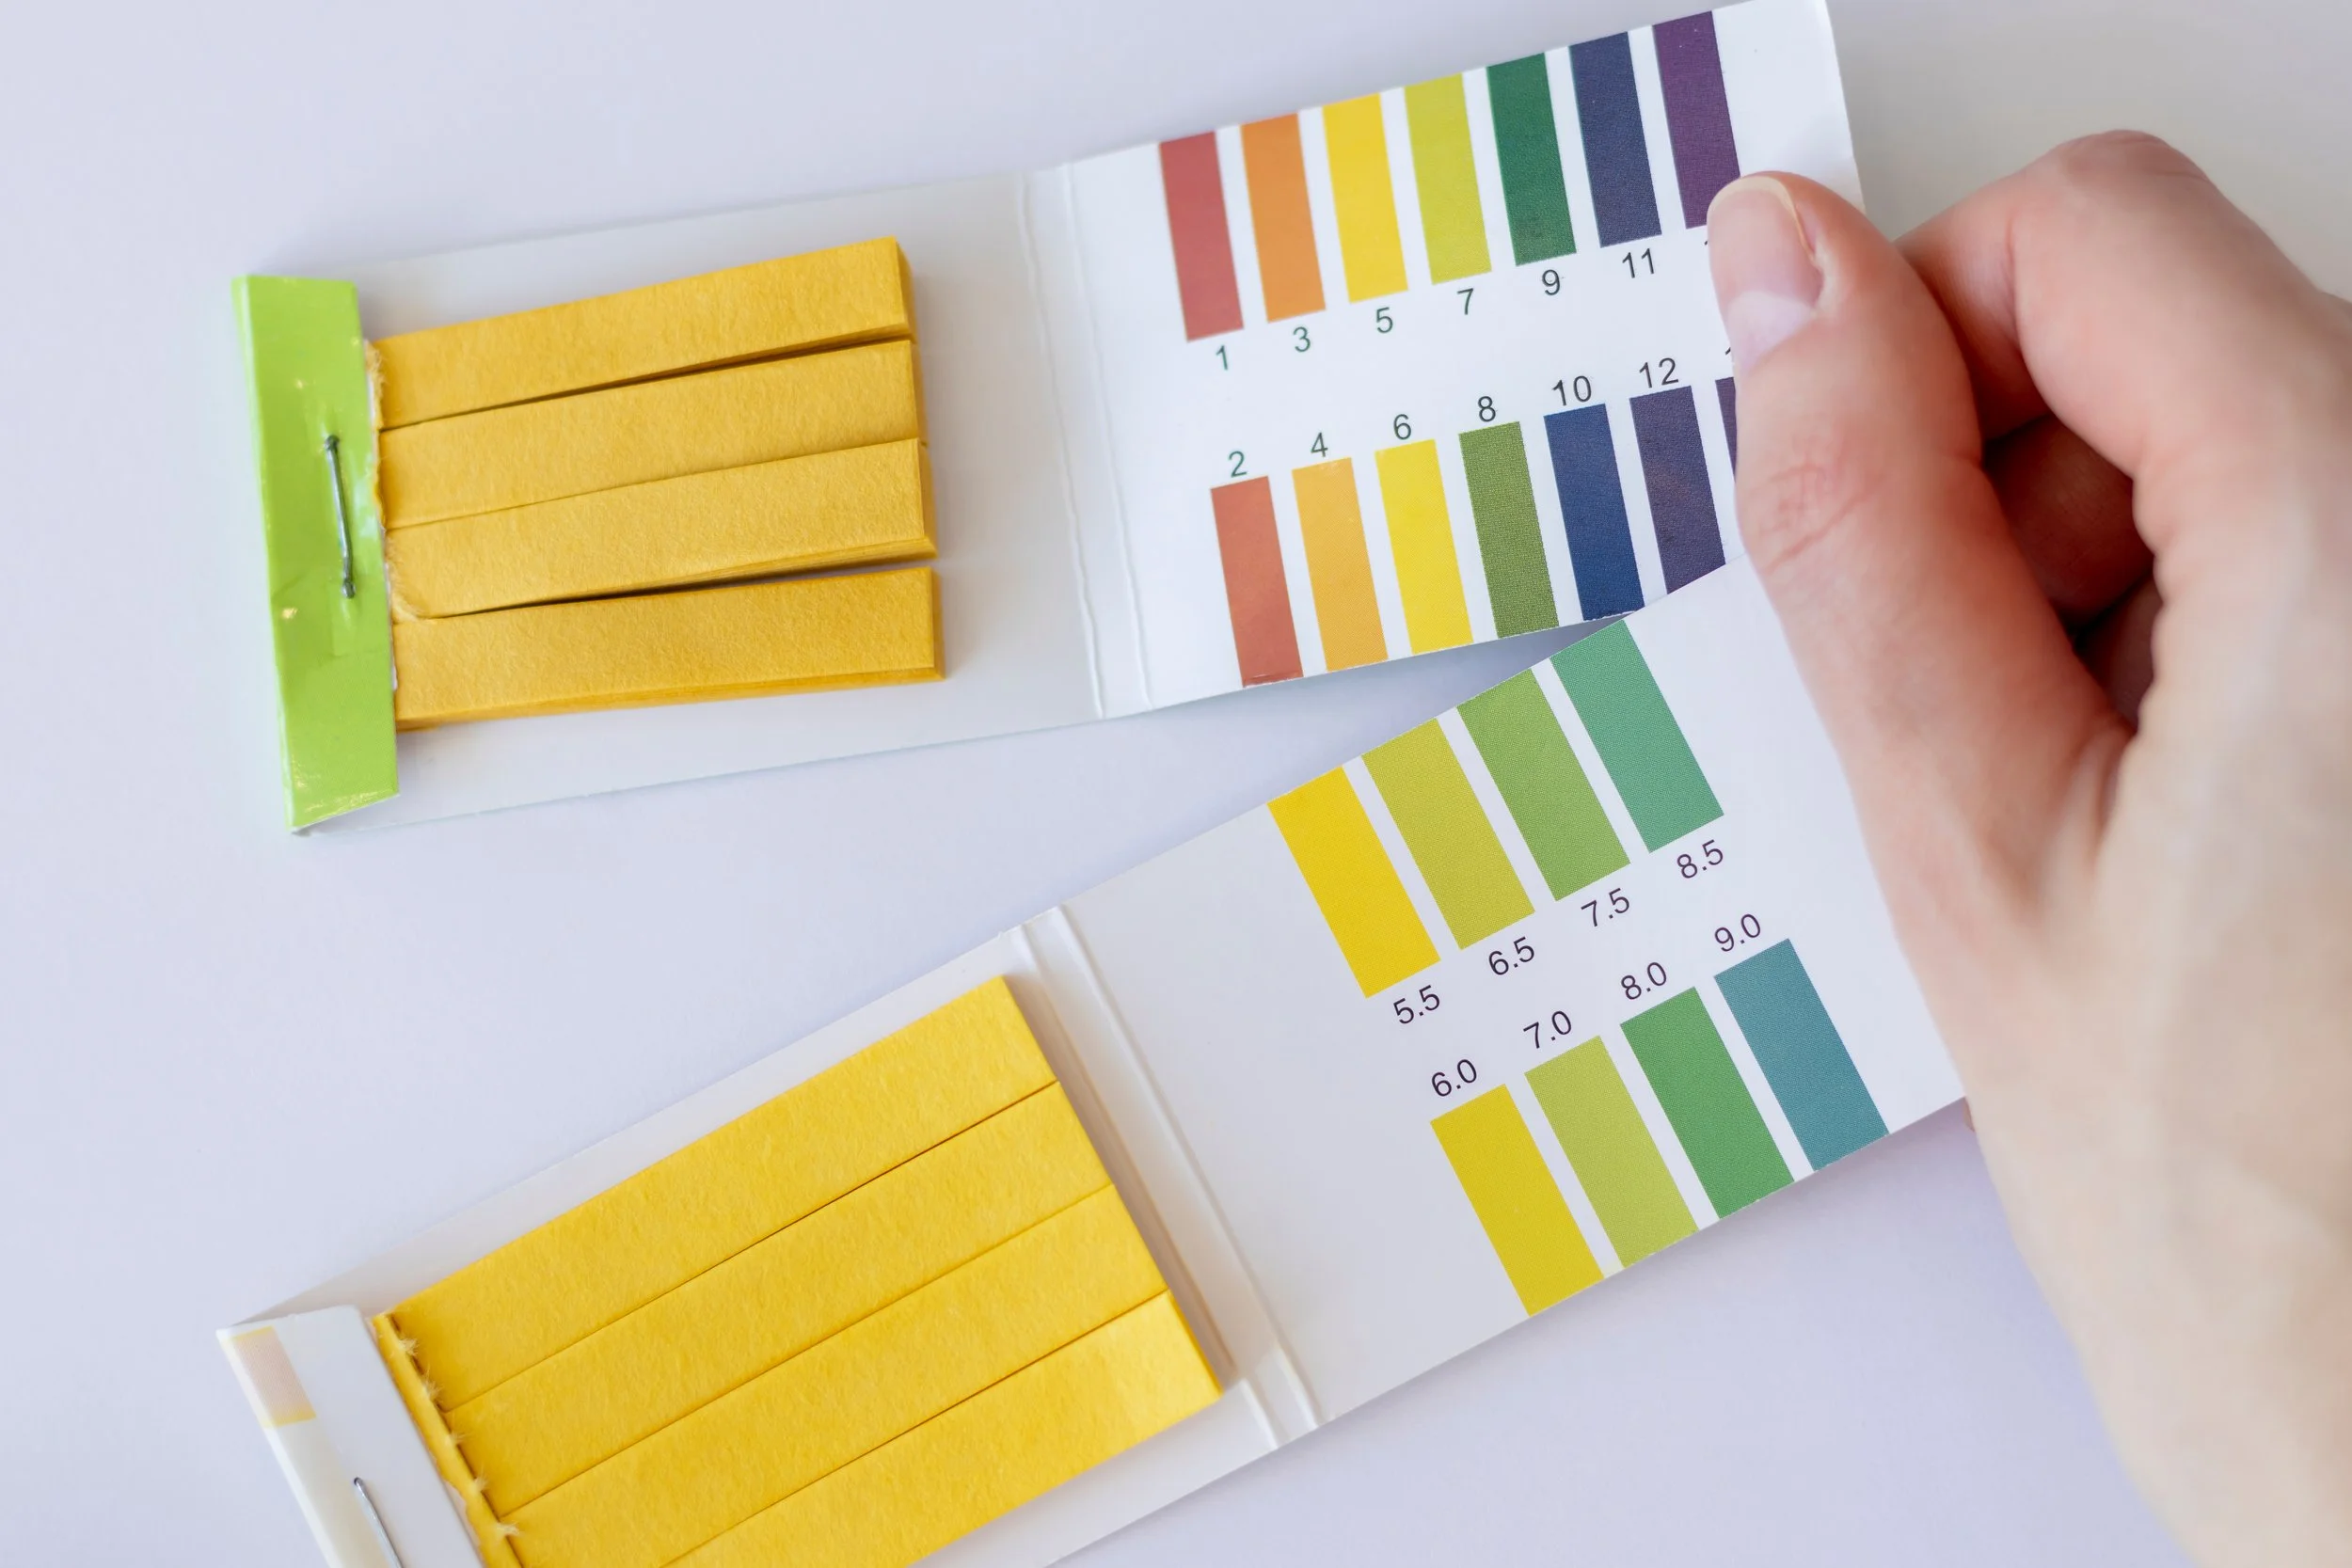
This one may sound intimidating, but don’t let the flashbacks to science class deter you. (In my case, that’s actually where I fell in love with the art behind science.)
You don’t need to buy a fancy pH meter, pH strips are inexpensive and surprisingly informative.
Once you start using pH strips, it honestly feels like magic. A tiny piece of paper that tells you so much about what’s happening inside your herbal preparation.
A simple pH strip can reveal:
spoilage — microbial activity often shifts pH
whether an oxymel or infused vinegar is acidic enough to be shelf‑stable
whether a water infusion is behaving as expected
Why pH Indicates Spoilage
Microbes change the chemistry of whatever they grow in. As they metabolize sugars, starches, or plant compounds, they release byproducts that shift the pH. Most spoilage organisms tend to raise the pH (making it less acidic), while fermentative microbes may lower it.
So if you have a preparation that should be acidic — like an oxymel, infused vinegar, or even a fresh tea — and the pH suddenly drifts toward neutral, that’s a red flag. A healthy acidic preparation will usually stay acidic. A pH shift means something is growing that shouldn’t be.
Target Acidity for Oxymels & Infused Vinegars
Vinegar‑based preparations rely on acidity for preservation. Most culinary vinegars sit around pH 2.4–3.4, which is acidic enough to inhibit microbial growth.
For herbal preparations, the general safety guideline is:
Oxymels should stay below pH 4.0
Infused vinegars should stay below pH 3.5–4.0
Below these thresholds, spoilage organisms struggle to survive.
If your oxymel or vinegar infusion rises above pH 4.0, it’s no longer reliably self‑preserving.
Why pH Can Change After Extraction
Here’s the part most herbalists don’t realize at first: Adding plant material introduces water and microorganisms.
Even dried herbs contain moisture. When you infuse herbs into vinegar or an oxymel, that water leaches out into the solvent. Water dilutes acidity, which can raise the pH.
Other factors that can raise pH:
high‑moisture herbs (fresh garlic, ginger, berries, citrus peel)
mineral‑rich herbs (nettles, horsetail, roots)
long infusion times
using low‑acidity vinegar to begin with
adding honey before checking acidity
This is why checking pH after infusion is so important.
If the pH has crept too high, you can correct it by:
adding more vinegar
shortening infusion time next batch
using a stronger vinegar (6% acetic acid instead of 5%)
This keeps your preparation safe, stable, and effective.
How to Add This Into Your Practice
When you’re making an oxymel or infused vinegar:
Measure the pH of your vinegar before adding herbs.
Infuse your herbs as usual.
Measure the pH again after straining.
If it’s above 4.0, add more vinegar until it drops back into the safe zone.
This takes less than a minute and gives you a huge amount of confidence in your final product.
3. Alcohol Percentage Checks
For tincture makers, this one is essential — and honestly, it’s one of the simplest chemical checks you can add to your practice. Alcohol percentage directly affects extraction strength, shelf stability, and microbial safety. If the alcohol content drops too low, your tincture may not extract the compounds you want, and it may not stay preserved long‑term.
A hydrometer is the tool used to measure alcohol percentage, and it’s surprisingly easy to use. You simply float it in your tincture (or in a small sample of it), and it gives you a reading based on density. Alcohol is lighter than water, so the hydrometer sinks differently depending on the ratio of alcohol to water.
Why Alcohol Percentage Matters
Alcohol percentage affects:
extraction strength — some compounds (like resins, alkaloids, and aromatics) require higher alcohol
shelf stability — alcohol below ~20–25% is not reliably self‑preserving
microbial safety — alcohol inhibits microbial growth, but only above certain thresholds
If your alcohol percentage is too low, you may end up with a tincture that spoils or ferments — especially if you’re using fresh plant material, which introduces water into the solvent.
Why Alcohol Percentage Can Change After Extraction
Just like with vinegar infusions, fresh plant material adds water. Even dried herbs contain residual moisture. When you macerate herbs in alcohol, that water leaches out and dilutes the alcohol percentage.
Other factors that can lower alcohol content:
using high‑moisture herbs (fresh lemon balm, milky oats, fresh roots)
long maceration times
evaporation if the jar isn’t sealed tightly
starting with a lower‑proof alcohol
This is why many herbalists use higher‑proof alcohol for fresh plant tinctures — to account for dilution.
How to Add This Into Your Practice
When making tinctures:
Measure your alcohol percentage before adding herbs.
Macerate as usual.
Measure again after straining.
If the percentage is too low, you can adjust by adding higher‑proof alcohol.
This simple check gives you confidence that your tincture is both potent and shelf‑stable.
Spoilage check with a combo of Organoleptic and Chemical IDS
This is where everything comes together: your senses, your observations, and your simple chemical tests. Spoilage can be subtle at first, but when you combine Organoleptic ID with Chemical ID, you get a much clearer picture of what’s happening inside your herbal preparation.
Organoleptic ID gives you the sensory story of the plant.
Chemical ID gives you the behavioral story.
Together, they create a fuller, more reliable assessment.
How Spoilage Shows Up Organoleptically
Your senses will often catch the earliest signs:
Sight: dull color, unexpected cloudiness, separation, or surface films
Smell: mustiness, sourness, “off” notes, or fermentation smells
Taste: flatness, bitterness where it shouldn’t be, or unexpected sourness
Touch: softening, sliminess, or rehydration in dried herbs
These are your first clues.
How Spoilage Shows Up Chemically
Chemical ID helps confirm what your senses suspect:
pH shifts: moving toward neutral or unexpectedly acidic
solubility changes: cloudy water, unexpected sediment, or strange textures
alcohol percentage drops: allowing microbial growth
unexpected fermentation: bubbles, pressure, or fizzing
When you combine both methods, you can catch spoilage early — long before it becomes obvious.
A Realistic Example
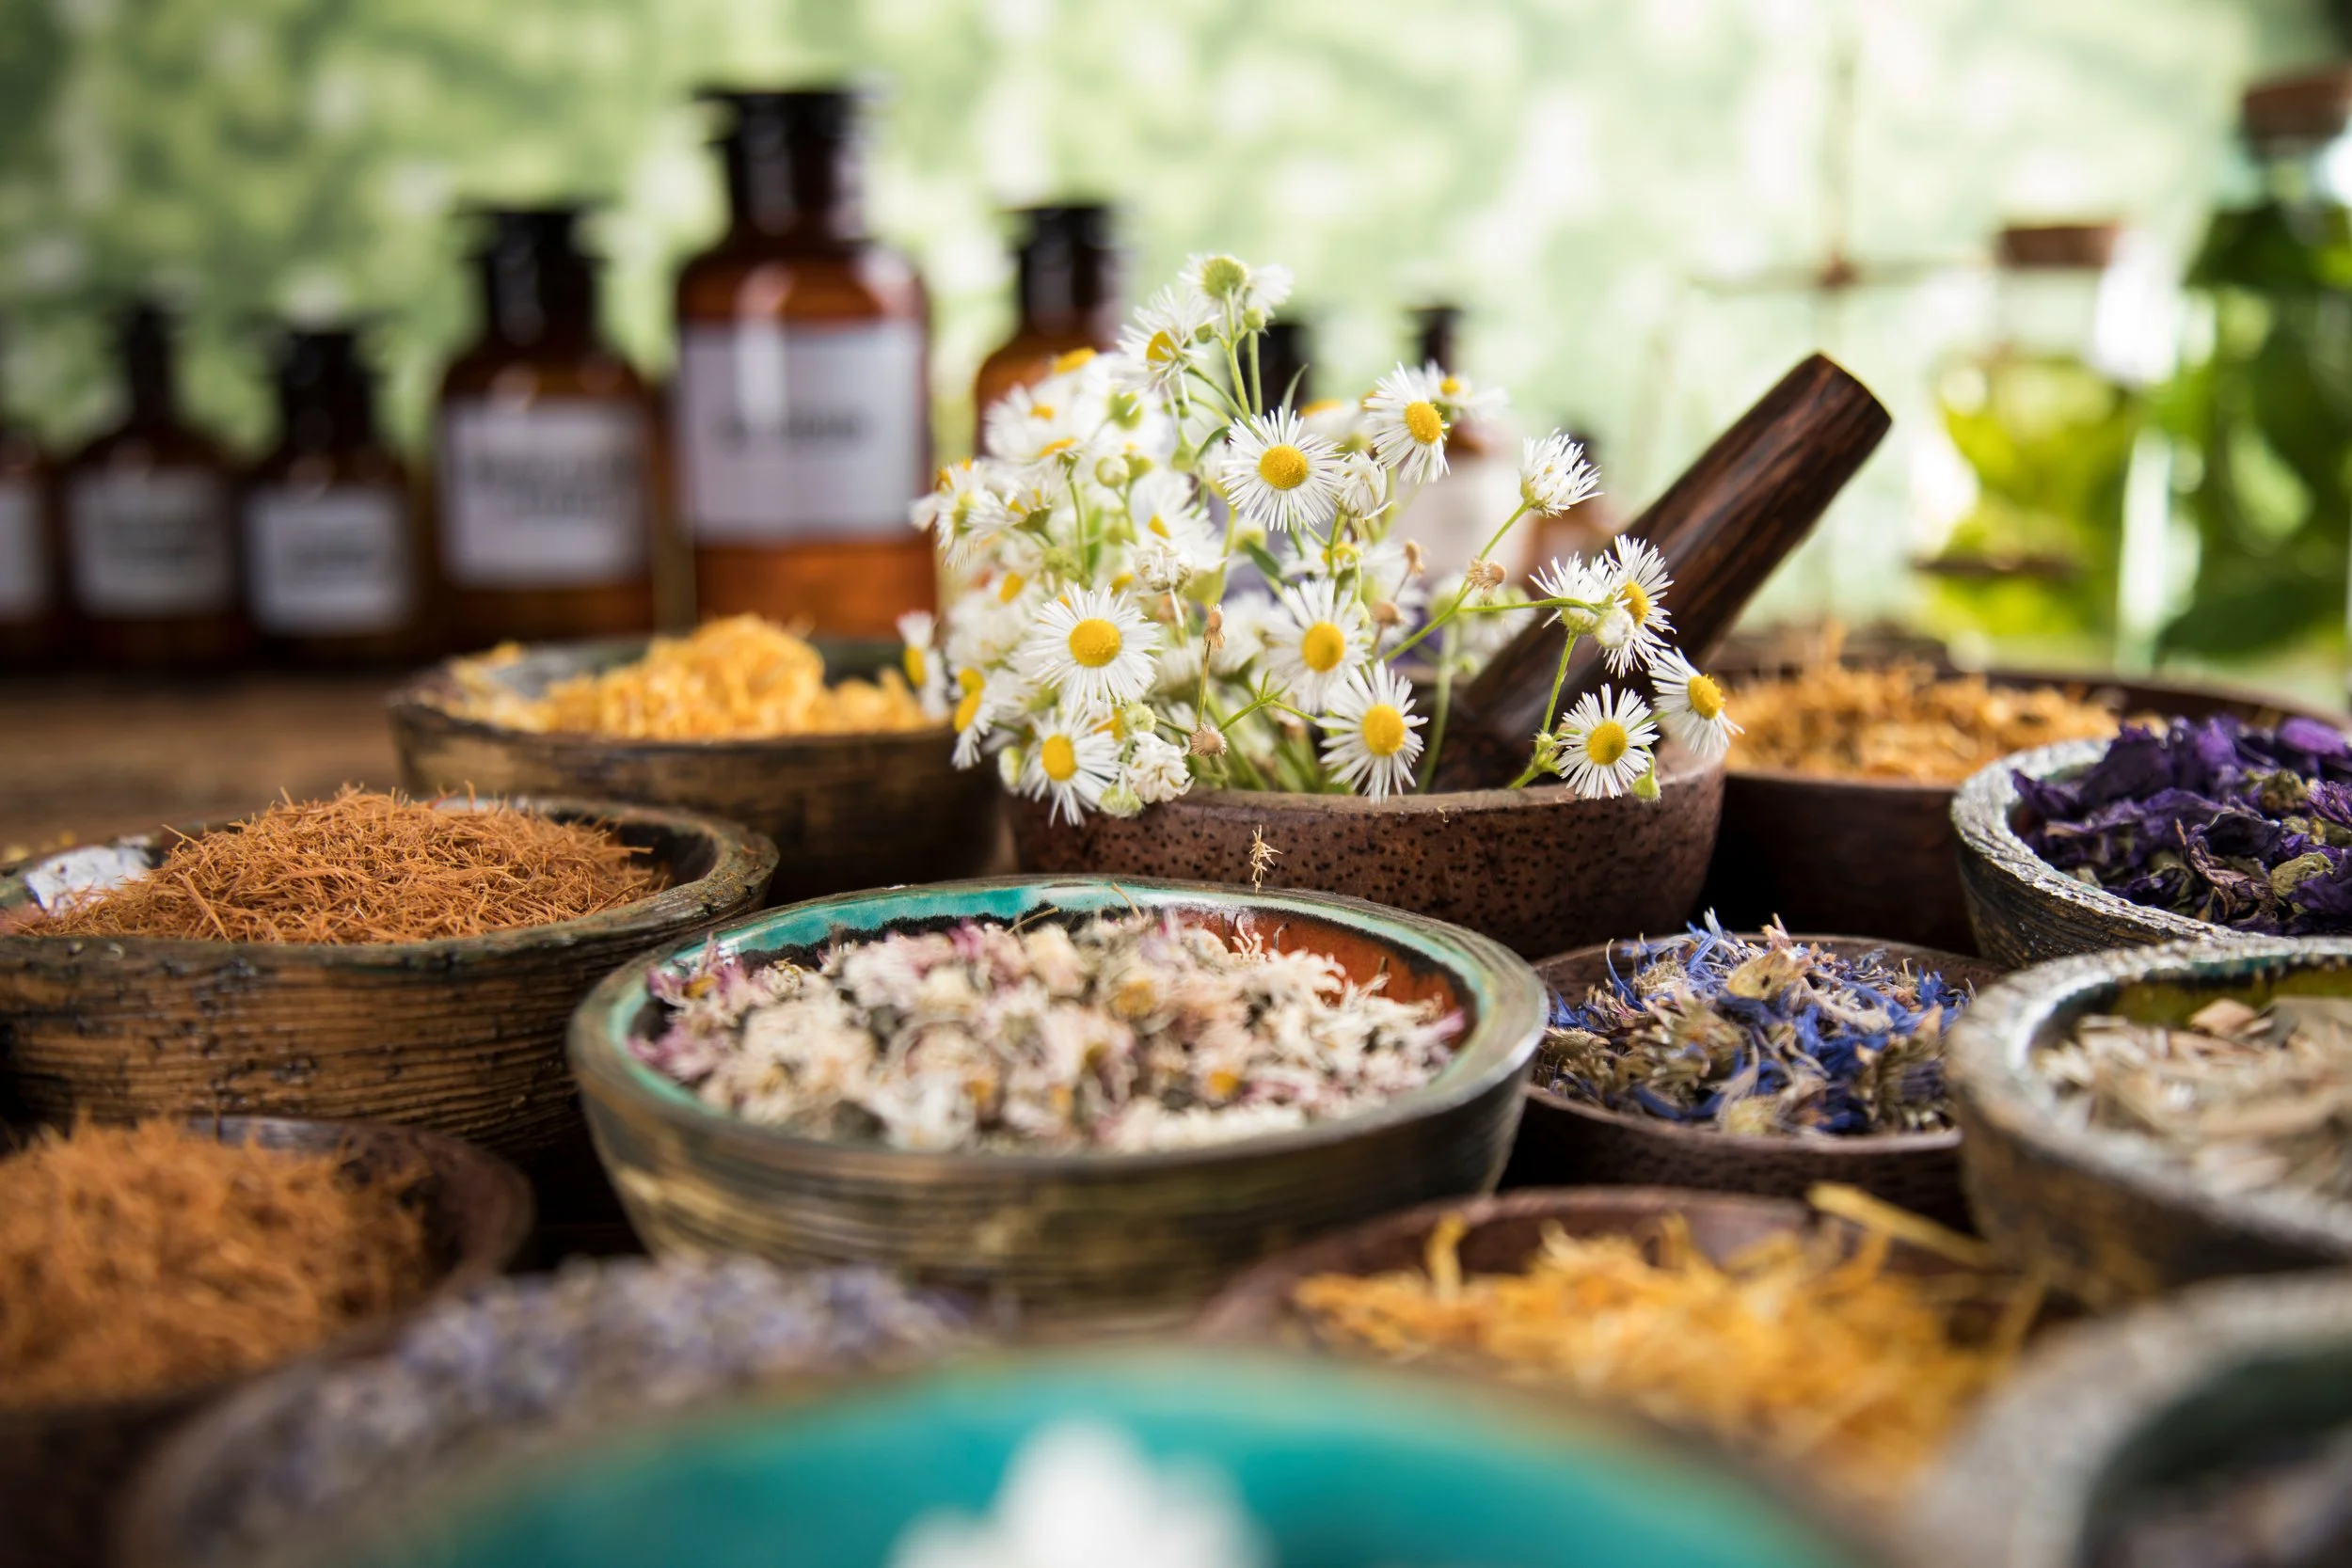
Let’s say you’re evaluating a batch of chamomile:
Your eyes notice the flowers look slightly dull.
Your nose picks up a faint mustiness.
A solubility test shows the water turning cloudy instead of golden.
A pH check confirms a shift toward neutral (a sign of age or moisture exposure).
Each layer reinforces the others.
This is why Chemical ID isn’t about doubting your senses, it’s about backing them up with simple, reliable checks.
Why This Matters for Home Herbalists
Spoilage isn’t always dramatic. It’s often subtle, slow, and easy to miss if you’re relying on only one sense. Using both organoleptic and chemical cues gives you:
safer preparations
more consistent results
better extraction choices
deeper understanding of plant behavior
It’s a small effort that pays off in confidence and quality.
Chemical ID is not about turning herbalism into a chemistry class. It’s about giving you another set of tools to understand your plants, validate your work, and build confidence in your formulations.
When you combine sensory skills with simple chemical techniques, you’re practicing herbalism in a way that is both traditional and modern, intuitive and informed.
This is the heart of quality control: knowing your plants deeply, from the way they smell to the way they behave in a solvent.


Read More!


Hello and welcome! I'm Eve, a Chemist turned Herbalist, sharing the wonders of plant medicine and botanical skincare. Join me on this journey to Learn, Create, and Align your Divine!