DIY Herbal Toners for Every Skin Type
For the longest time I never understood why people used toners. It felt like such an unnecessary product, and to be honest, the only experience I had with them in my younger years was that potent blue Neutrogena toner. You know the one — the beast of a product that basically burned the surface of your face off with its intense alcohol content. That was my entire frame of reference for toners, so naturally I avoided them like the plague!
It wasn’t until much later, when I began researching and developing cosmetics of my own, that I finally understood their appeal. And honestly, I’m surprised it took me that long. As someone with dry, flaky skin, I can use all the moisture I can get. What ultimately converted me into a daily toner user was actually a product I formulated for a client. We wanted a water‑based formula that could deliver vitamin C and apple cider vinegar after cleansing — something that would help balance the skin’s acid mantle and support a more even complexion. A toner felt like the obvious choice: a simple, stable vehicle for active ingredients, easy to apply, and deeply refreshing. Just spray and let the goodness soak in.
Through the process of creating that product, I was basically forced to use a toner consistently… and let me tell you, I haven’t looked back. That one formula completely shifted my relationship with this step. I realized how much my skin craved that extra layer of hydration, how much smoother my serums applied afterward, and how much more balanced my skin felt overall. It was like discovering a missing puzzle piece in my routine.
Today I want to share a little DIY magic to hopefully have you falling in love with toners too. But before we dive into recipes, let’s break down what a toner actually is — and why this simple, often overlooked step can make such a difference in your skin.
What Toners are and Why They Matter
You’ve probably heard of toners before, but do you actually know what they do? I certainly didn’t when I first started my skincare journey. The name itself feels vague — “tone the skin” — but toners actually serve a few very specific purposes.
Traditionally, toners were formulated with alcohol or strong astringents like witch hazel. Their job was to tighten pores, remove leftover dirt or cleanser residue, and prep the skin for the rest of your routine. They were meant to be used directly after cleansing and before moisturizer. And while that old‑school approach worked for some skin types, it also left a lot of people (my younger self included) red, dry, and irritated.
Thankfully, toners have evolved. Today there are countless variations: hydrating toners, essence‑style toners, exfoliating toners, mist toners, and more. But my hands‑down favorite category is herbal toners.
Herbal toners combine the best of modern skincare with the wisdom of plant medicine. They’re gentle, nutritive, and energetically supportive. They don’t just make your skin look good, they help it function better. And because herbs each have their own unique actions and energetics, you can tailor a toner to your exact skin type and needs.
A well‑crafted herbal toner can:
Restore your skin’s natural pH after cleansing
Deliver hydration and water‑soluble phytonutrients
Prepare the skin to absorb oils, serums, and moisturizers more effectively
Offer targeted support through herbs chosen for your skin’s patterns
Create a moment of ritual — a mist, a scent, a pause — that reconnects you to your body
It’s one of the easiest ways to integrate herbal care into your daily routine, and once you feel the difference, it’s hard to go back.
Understanding Skin Types Through a Botanical Lens
Before we dive into the recipes, let’s take a moment to ground ourselves in the basics. When it comes to choosing a toner that truly supports your skin, one of the easiest ways to begin is by understanding your skin type. This gives you a framework for selecting herbs that complement your skin’s natural tendencies rather than working against them.
Here’s a simple breakdown of the four main skin types and what each one benefits from in a toner:
Dry Skin: Lacks both oil and moisture; often feels tight, flaky, or dull.
What it needs: humectants, mucilage‑rich herbs, and deeply hydrating hydrosols that help bind and hold water at the surface of the skin.
Oily Skin: Produces excess sebum and is prone to congestion or shine.
What it needs: balancing, astringent, and clarifying herbs that help refine pores without stripping or disrupting the skin barrier.
Sensitive Skin: Easily reactive, prone to redness, irritation, or inflammation.
What it needs: cooling, soothing, anti‑inflammatory botanicals that calm the skin and support barrier repair.
Combination Skin: A mix of oily and dry zones — often an oily T‑zone with drier cheeks.
What it needs: harmonizing, adaptive blends that can hydrate where needed while balancing oil production elsewhere.
When you look at skin through a botanical lens, you start to see patterns and each of these patterns has herbal allies that can help bring the skin back into balance. This is where herbal energetics shine. Moistening herbs soothe dryness, cooling herbs calm heat, astringent herbs refine and tone, and adaptogenic herbs help the skin navigate fluctuations. Once you understand your skin’s pattern, choosing the right herbs becomes intuitive
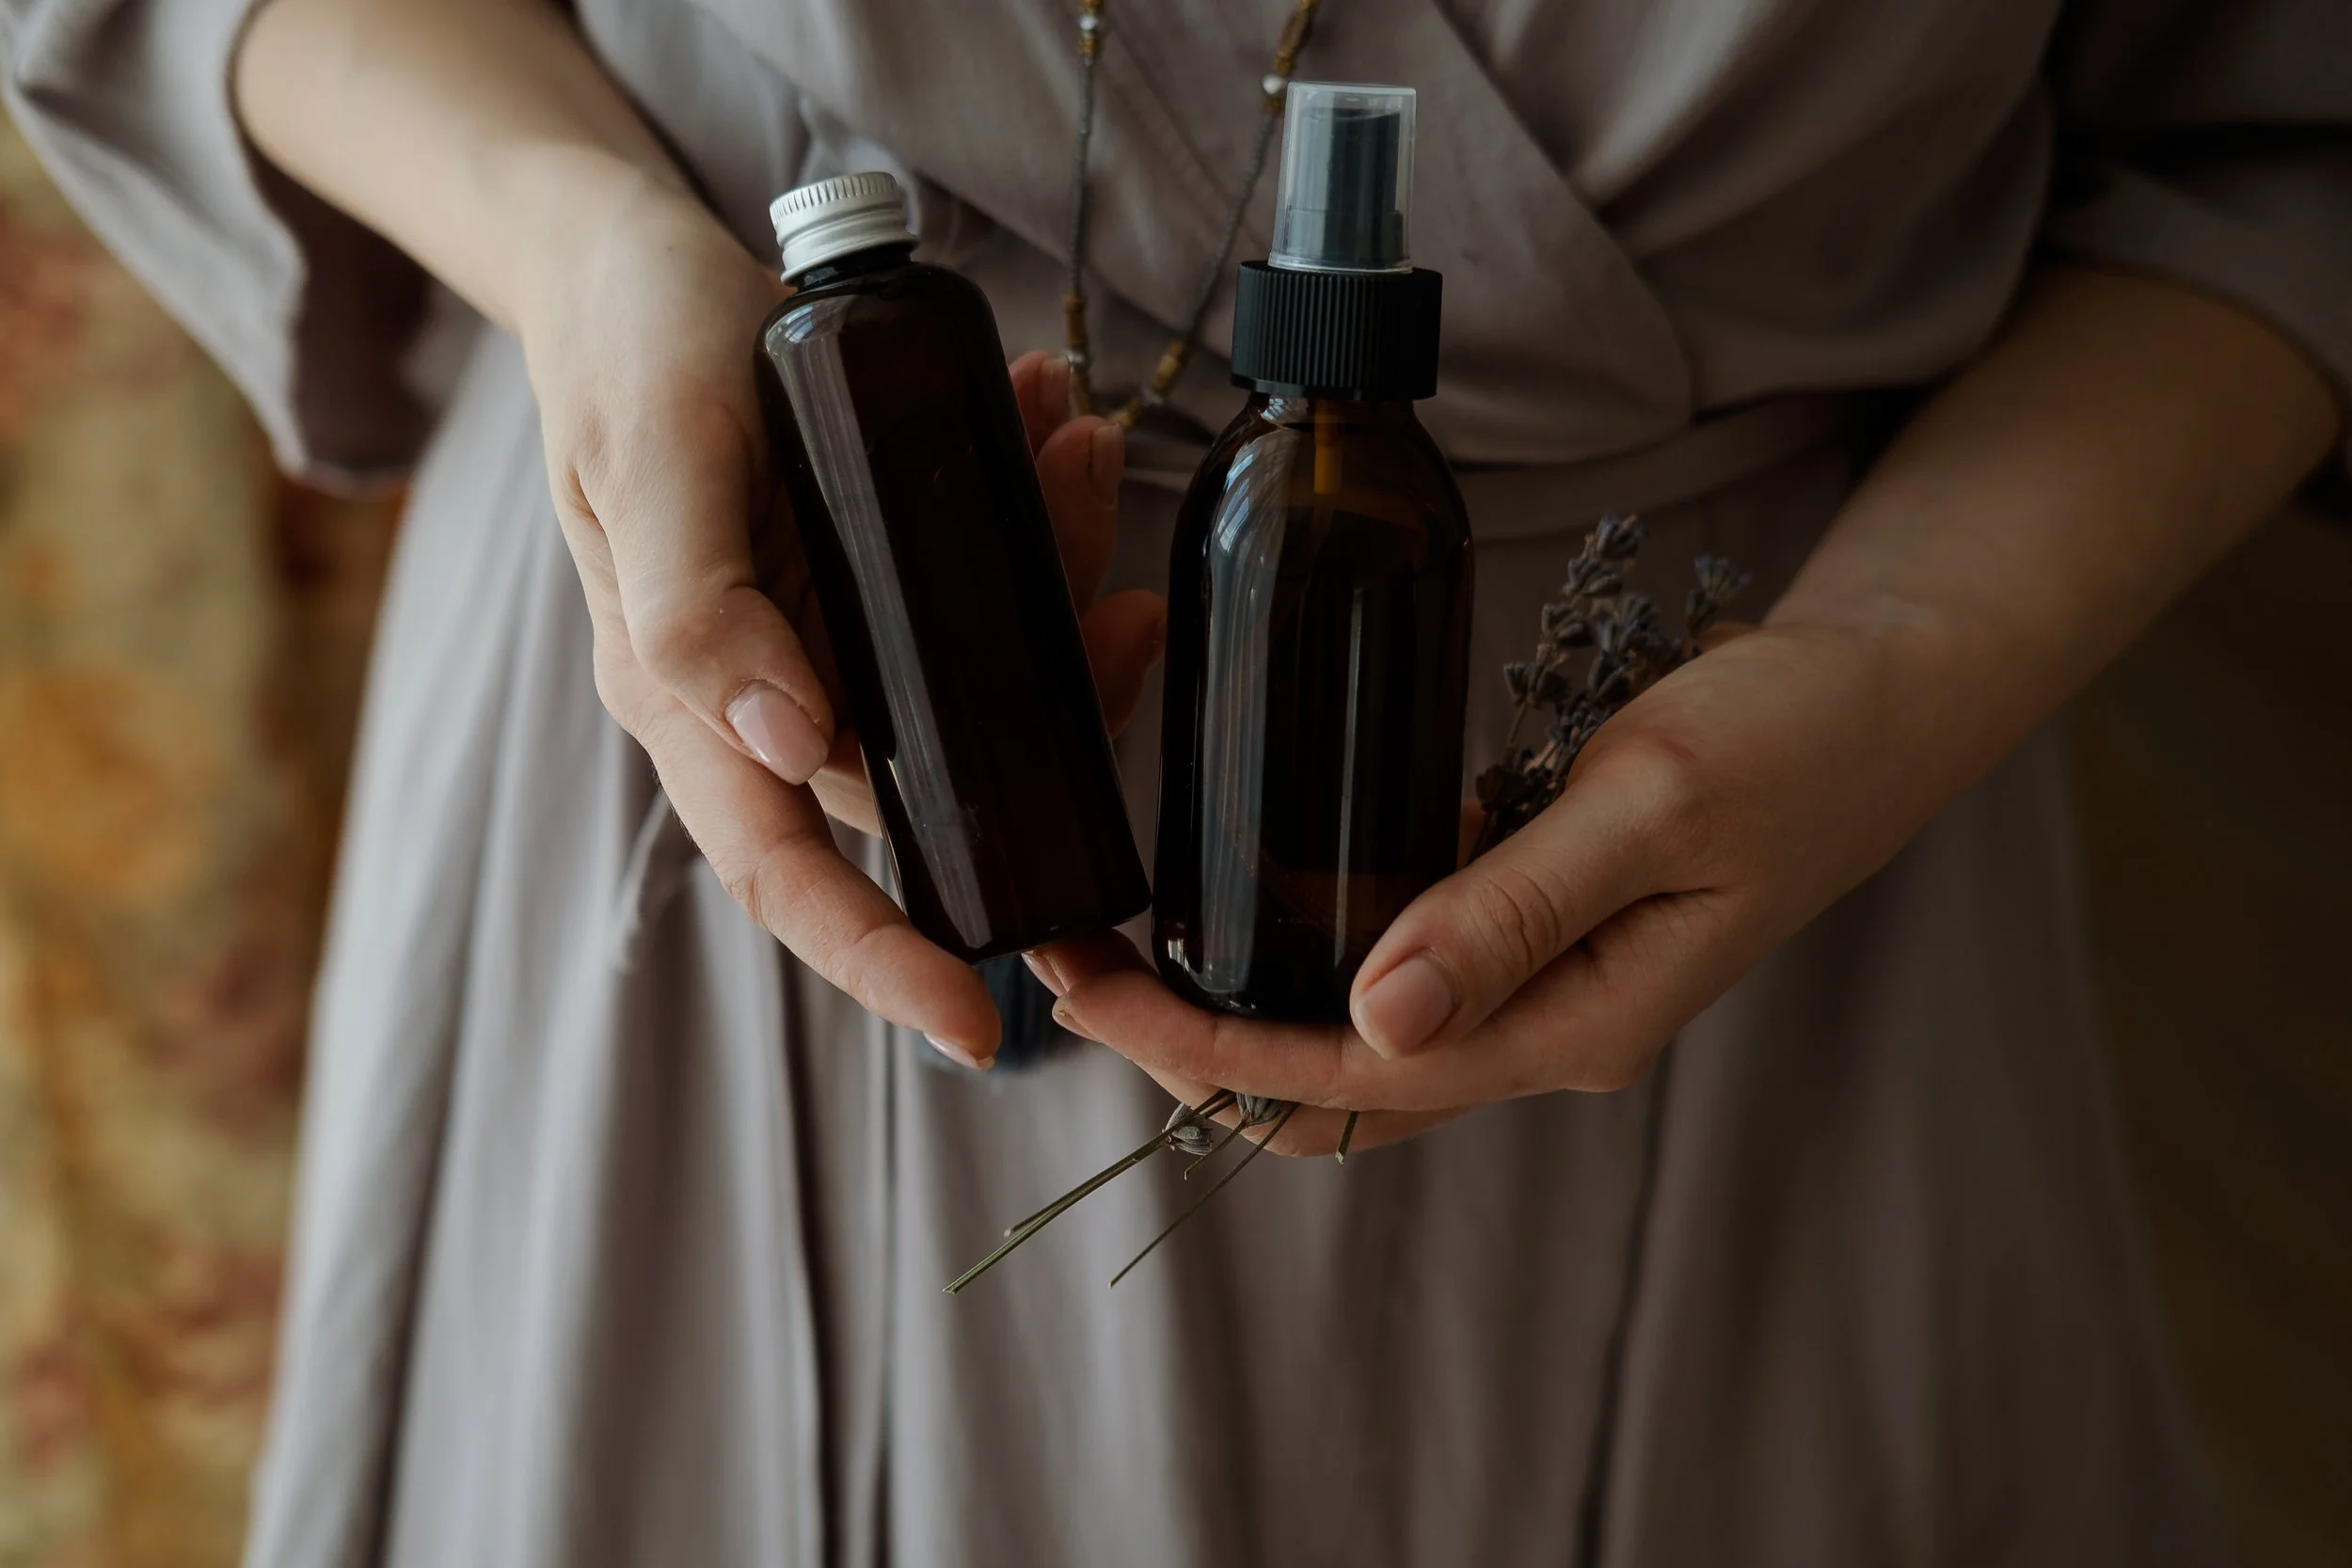
The Basics of Toner Making
Now that you have a sense of what your skin might be asking for, let’s walk through the simple structure of a toner. Think of this as your formula blueprint. Once you understand the components, you can mix and match ingredients to create something perfectly tailored to you.
Step One: Choose Your Base
The base makes up the body of your toner. In most store‑bought formulas, this is simply water. But when you’re crafting your own, this is where the magic begins.
Hydrosols offer a gentle, aromatic herbal boost and are perfect for sensitive or reactive skin.
Herbal infusions provide a stronger dose of plant constituents and are wonderful when you want a little more oomph or targeted support.
Both options create a beautiful foundation — choose based on the strength and energetics you’re looking for.
Step Two: Add a Little Extra Something
Once you’ve chosen your base, it’s time to add your actives. This is where your toner becomes truly customized.
You might include:
Herbal tinctures
Glycerin
Aloe vera juice
Witch hazel
Botanical extracts or glycerites
There’s so much room to play here. Think of this step as seasoning your formula, a little something to enhance the benefits and tailor the experience to your skin’s needs.
Step three: Preserve, Bottle and Use
Preservation is a crucial part of DIY skincare. Even the most beautiful formula won’t do you any good if it spoils before you can enjoy it.
If you have a preservative on hand, I always recommend using one. (If you want to learn more, check out my blog post A Guide to Preservation in Cosmetics: Unlocking the Secrets Behind Freshness.)
If you don’t have preservatives, refrigeration is non‑negotiable — but even then, your toner will only last a few days.
My favorite workaround: freeze your toner into single‑use ice cubes. Not only does this extend the shelf life significantly, but the cooling effect also gives your pores a little extra toning action.
To use your toner, simply apply it after cleansing and before your serum or oil. You can also mist it throughout the day whenever your skin needs a refresh.
Toner Recipes by Skin Type
And without further ado, let us get into making your very own DIY herbal toner. Below you’ll find four simple, customizable herbal toners designed for each skin type. Feel free to use them as written or tweak them to better suit your skin’s unique needs.
Dry Skin — Hydrating + Moisture-Restoring Toner
Key herbs: marshmallow root, calendula, rose, chamomile.
Energetics: moistening, soothing, cooling.
Recipe:
½ cup rose hydrosol
¼ cup marshmallow root cold infusion
1 tsp vegetable glycerin
Optional: 5–10 drops calendula glycerite
Why it works:
Marshmallow root delivers mucilage that binds moisture to the skin.
Rose hydrates and softens.
Calendula supports barrier repair.
Glycerin draws moisture into the epidermis.
Ritual note: Mist generously and press into the skin with warm palms.
Oily Skin — Clarifying + Balancing Toner
Key herbs: green tea, rosemary, yarrow, lavender.
Energetics: cooling, astringent, stimulating lymph.
Recipe:
½ cup green tea infusion (cooled)
¼ cup alcohol-free witch hazel
1 tsp rosemary tincture
Optional: 2–3 drops lavender hydrosol or essential oil (if you choose to include EO, keep it extremely diluted)
Why it works:
Green tea reduces inflammation + regulates sebum.
Witch hazel tightens pores without stripping.
Rosemary supports circulation + clarity.
Lavender calms reactive oil production.
Ritual note: Use a cotton pad for a deeper pore sweep, or mist lightly for a gentler approach.
Sensitive Skin — Soothing + Barrier-Support Toner
Key herbs: chamomile, oatstraw, rose, plantain.
Energetics: cooling, anti-inflammatory, demulcent.
Recipe:
½ cup chamomile hydrosol
¼ cup oatstraw infusion
1 tsp plantain glycerite
Optional: 1 tsp aloe vera juice
Why it works:
Chamomile calms redness + irritation.
Oatstraw provides minerals + gentle moisture.
Plantain supports barrier repair + reduces reactivity.
Aloe cools and hydrates.
Ritual note: Encourage slow breathing while misting — sensitive skin often mirrors a sensitive nervous system.
Combination Skin — Harmonizing + Adaptive Toner
Key herbs: rose, green tea, calendula, tulsi.
Energetics: balancing, adaptogenic, harmonizing.
Recipe:
½ cup rose hydrosol
¼ cup green tea infusion
1 tsp tulsi tincture
Optional: 1 tsp calendula glycerite
Why it works:
Rose hydrates dry areas while toning oily zones.
Green tea balances sebum + soothes inflammation.
Tulsi supports stressed, fluctuating skin.
Calendula brings gentle repair.
Ritual note: Mist before makeup for a smoother, more even canvas.


Read More!


Hello and welcome! I'm Eve, a Chemist turned Herbalist, sharing the wonders of plant medicine and botanical skincare. Join me on this journey to Learn, Create, and Align your Divine!