Fresh to Dry Herb Conversion: Mastering Consistency in Herbal Formulations
In the realms of herbalism and natural wellness, converting fresh herbs into their dried form is essential for maintaining consistent potency, flavor, and therapeutic benefits. Whether you're preparing tinctures, teas, or dermal infusions, mastering the process from fresh to dry not only extends the shelf life of your botanicals but also ensures that every formulation delivers reliable results. Let’s dive deeper into why this critical step matters and explore three proven drying methods that are both practical and effective.
Why Convert Fresh Herbs to Dry?
Fresh herbs come bursting with natural aromas and bioactive compounds, yet their high moisture content can lead to dosage variability and a shorter shelf life. Drying these herbs concentrates their beneficial phytochemicals, producing a more potent and stable ingredient for your recipes. This process allows for precise measurement adjustments in formulations and limits microbial degradation, resulting in a shelf-stable, reliable herbal product.
When to Use Dried versus Fresh Herbs?
While drying is beneficial for many plants, not all parts of an herb respond the same way. Delicate flowers and aerial parts often deliver better extracts when used fresh, as the drying process can sometimes diminish volatile medicinal compounds. For instance, certain blossoms and leaves maintain their therapeutic properties when fresh. Conversely, roots and other dense plant parts, which hold excess moisture, typically perform better after drying. Understanding which herbs excel in the fresh state versus the dried state is key to optimizing your extraction methods.

The Science Behind Drying
Drying herbs goes far beyond water removal—it actually increases the concentration of active compounds. As moisture decreases, the herb’s potency intensifies, meaning a smaller amount of dried herb can replace a larger volume of fresh material. A common guideline is that 1 part dried herb is roughly equivalent to 3 parts fresh herb. However, factors like the harvest time, drying method, and natural variability among herbs can affect this ratio. Paying attention to these nuances is essential for fine-tuning your formulations.
Practical Steps for Converting Fresh Herbs to Dry
1. Harvesting with Precision
Select your herbs at their peak, typically during early morning hours when essential oil concentrations are highest. Rinse them gently under cool water and pat dry immediately to remove excess surface moisture. This careful preparation primes your herbs for a more efficient drying process.
2. Preparation Is Key
Before drying, trim away any excess stems or damaged parts. For robust leaves and botanicals, a rough chop can help speed up drying without compromising quality. When dealing with roots, a thorough washing step is crucial to remove surface microbes. Consider a dilute bleach bath for larger-scale, medicinal applications—remember, when properly diluted, bleach is widely used in controlled manufacturing environments. For those hesitant to use bleach, a diluted vinegar solution is a safe alternative.
3. Choosing the Right Drying Method
Several effective methods include:

Air Drying
Overview: Air drying involves bundling or spreading herbs on a screen in a cool, well-ventilated, and shaded area. This traditional method relies solely on natural conditions.
Benefits:
Natural & Gentle: Preserves delicate flavors, aromas, and sensitive phytochemicals without the risk of overheating.
Energy Efficient: Requires no electricity, making it both cost-effective and environmentally friendly.
Ideal for Bulk Drying: Best suited for handling large quantities when time is not a constraint.
Drawbacks:
Time-Consuming: Depending on humidity and temperature, drying can take from several days to weeks.
Weather Dependent: High humidity or unpredictable weather might lead to mold or fungal growth.
Not for Urgent Needs: Not recommended if rapid drying is required.
When to Use It: Use air drying when you have ample time and a consistent, low-humidity environment. It’s perfect for herbs that can handle a slower drying process and when an energy-free method is preferred.
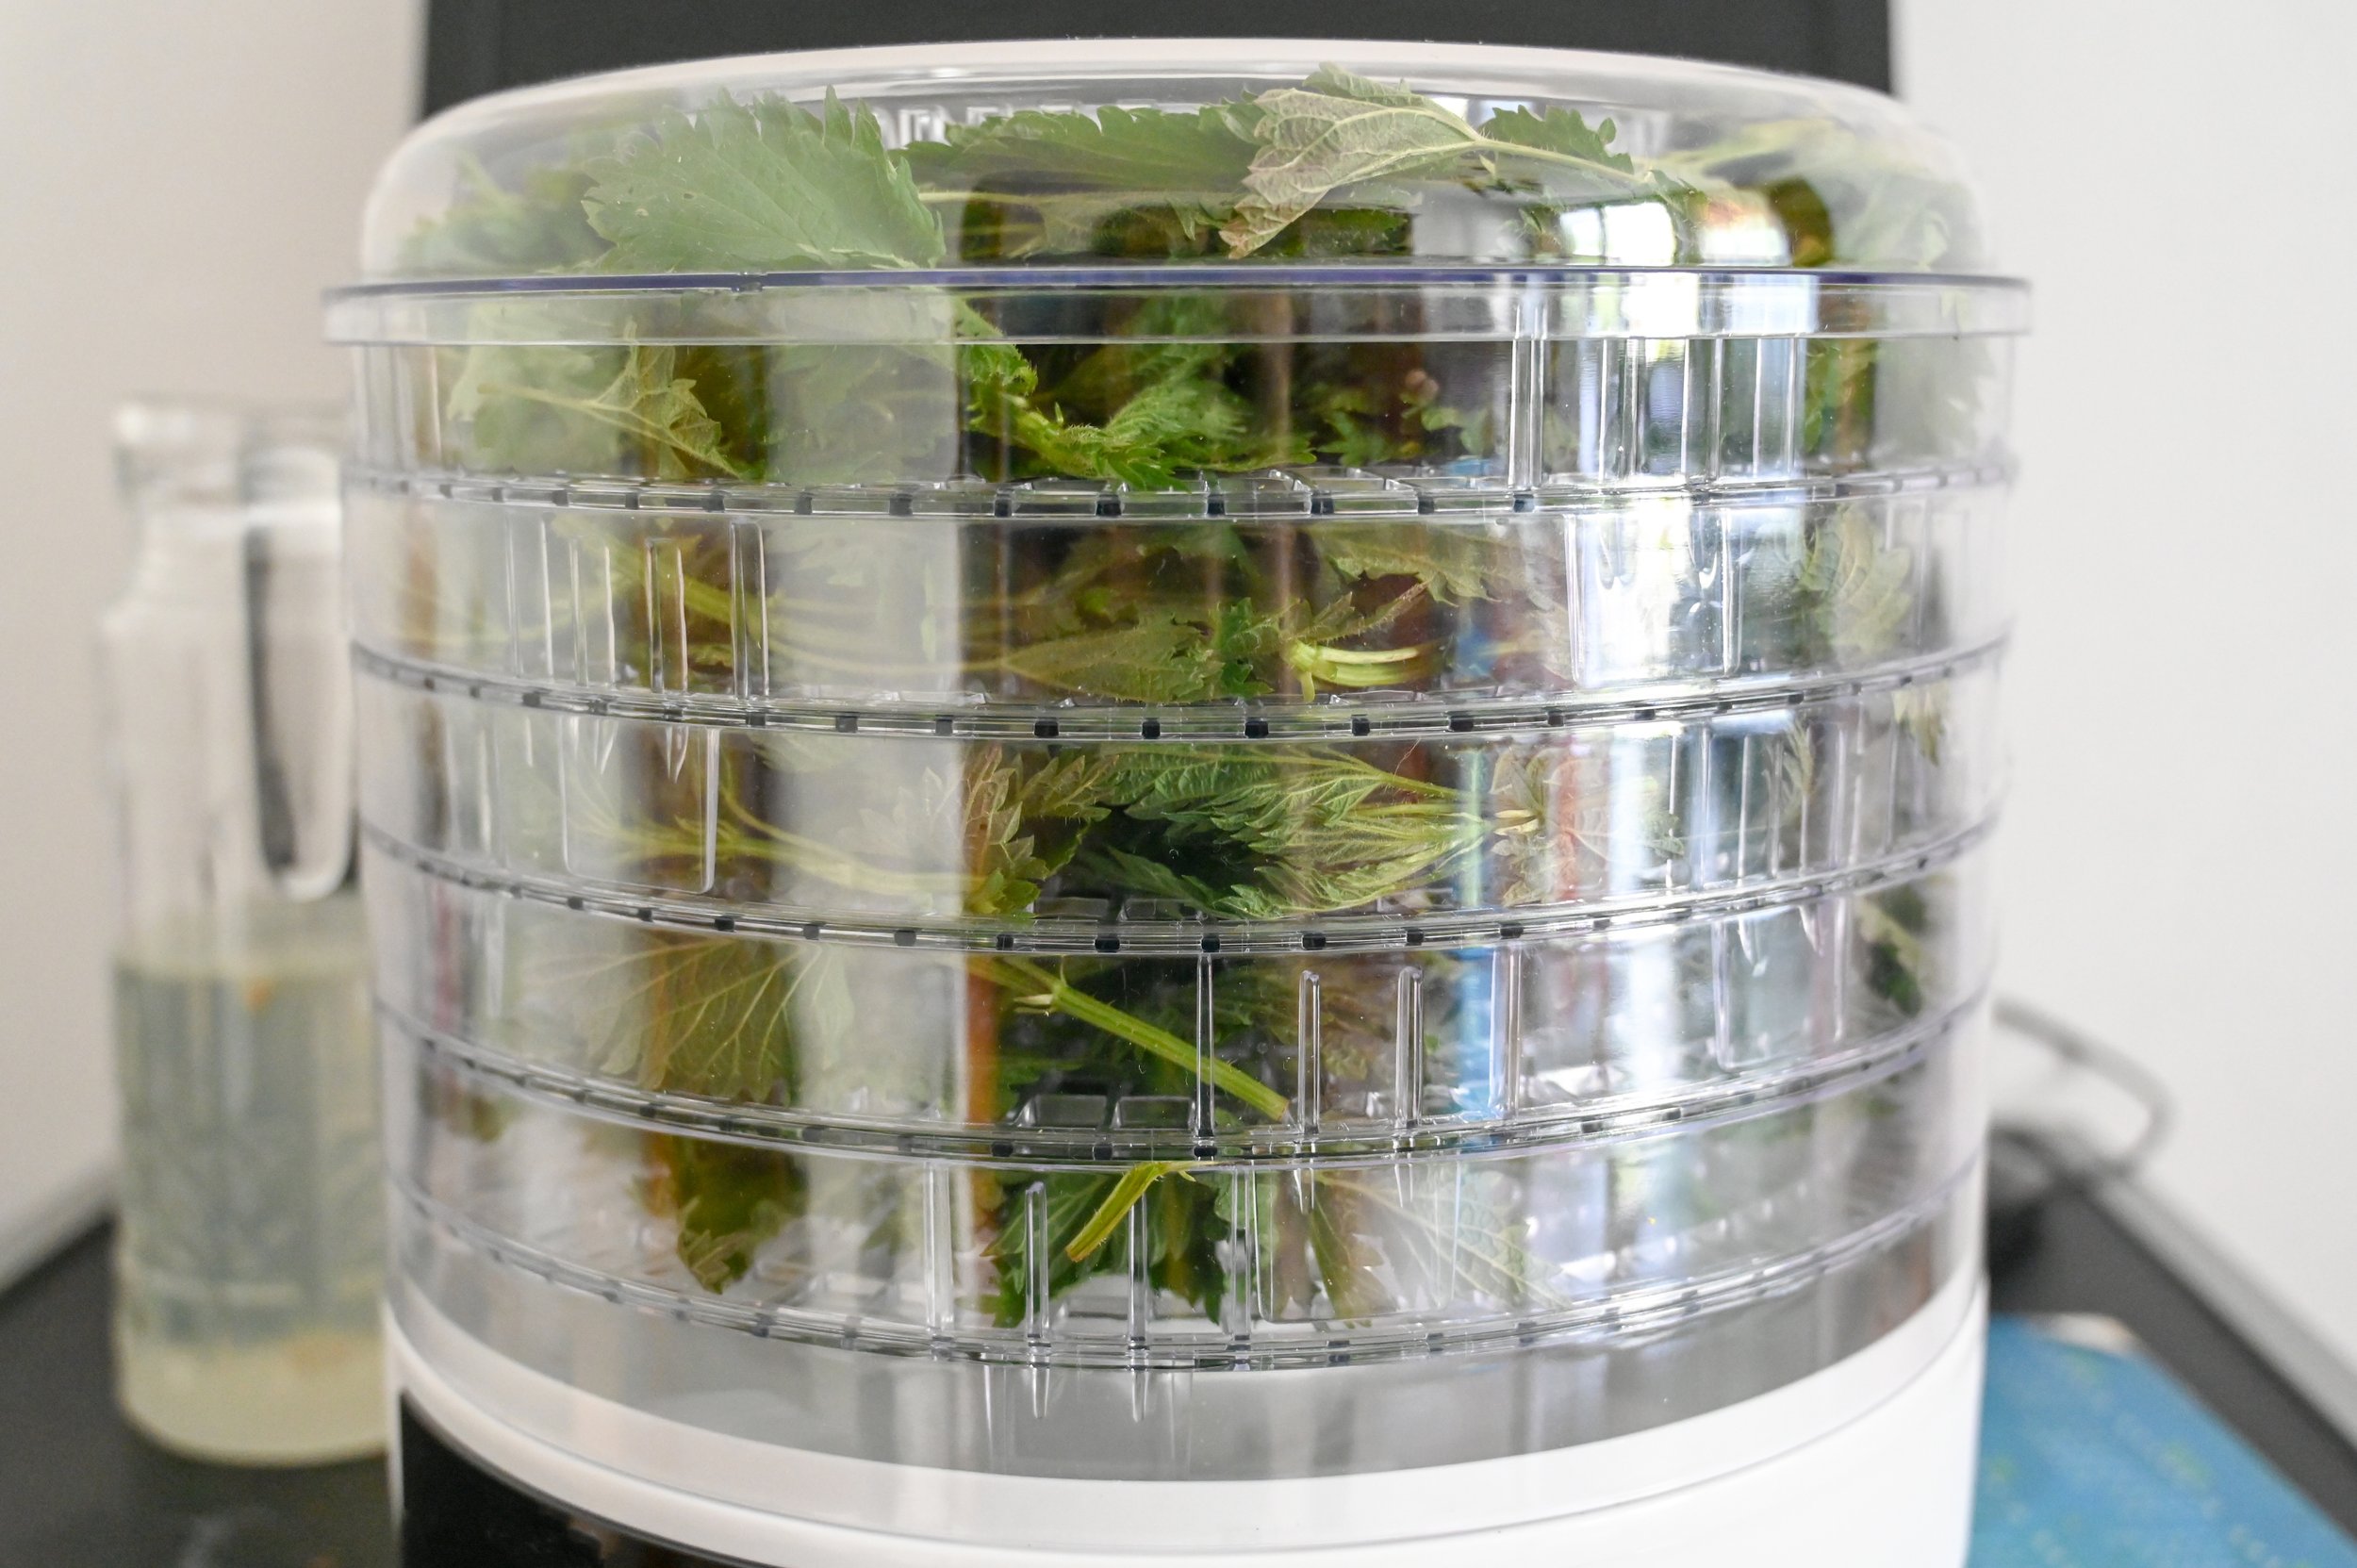
Dehydrator Drying
Overview: A food dehydrator creates a controlled environment with adjustable temperature settings and continuous airflow, speeding up the drying process while preserving quality.
Benefits:
Consistency & Speed: Offers steady temperature control, significantly reducing drying times compared to air drying.
Precision: Customizable settings help tailor the process to specific herb needs, minimizing the risk of thermal degradation.
Year-Round Use: Provides reliable results irrespective of seasonal humidity fluctuations.
Drawbacks:
Initial Investment: A quality dehydrator requires upfront cost.
Limited Capacity: May not be effective for very large batches if you’re operating on a tight scale.
Energy Usage: Although generally efficient, it does consume electricity.
When to Use It: The dehydrator method is ideal when you need the process to be quick and highly controlled. It’s excellent for working with a variety of herbs, especially when precise moisture control is critical in small-to-medium batch operations.
Oven Drying
Oven Drying
Overview: Oven drying uses your kitchen oven set at a low temperature (typically between 95°F to 115°F) as an alternative drying method. Although less common, it can work in a pinch.
Benefits:
Accessibility: Most kitchens have an oven, making it a readily available option for quick drying.
Speed: Particularly useful in high-humidity environments or when you’re short on time.
Controlled Environment: Adjusting to the lowest setting can help manage temperature, reducing the risk of over-drying.
Drawbacks:
Risk of Overheating: Home ovens may lack precise temperature control at low ranges, potentially leading to overheating and loss of delicate compounds.
Flavor Alteration: The faster process may slightly alter the herb’s natural flavor and aroma.
Inconsistent Results: Hot spots may lead to uneven drying unless herbs are regularly rotated.
When to Use It: Reserve oven drying for situations where you need a fast turnaround or when only small batches require processing. It’s also a fallback option when outdoor drying isn’t feasible or when you lack access to a dehydrator. Always monitor closely to avoid over-drying.
4. Monitoring and Storage
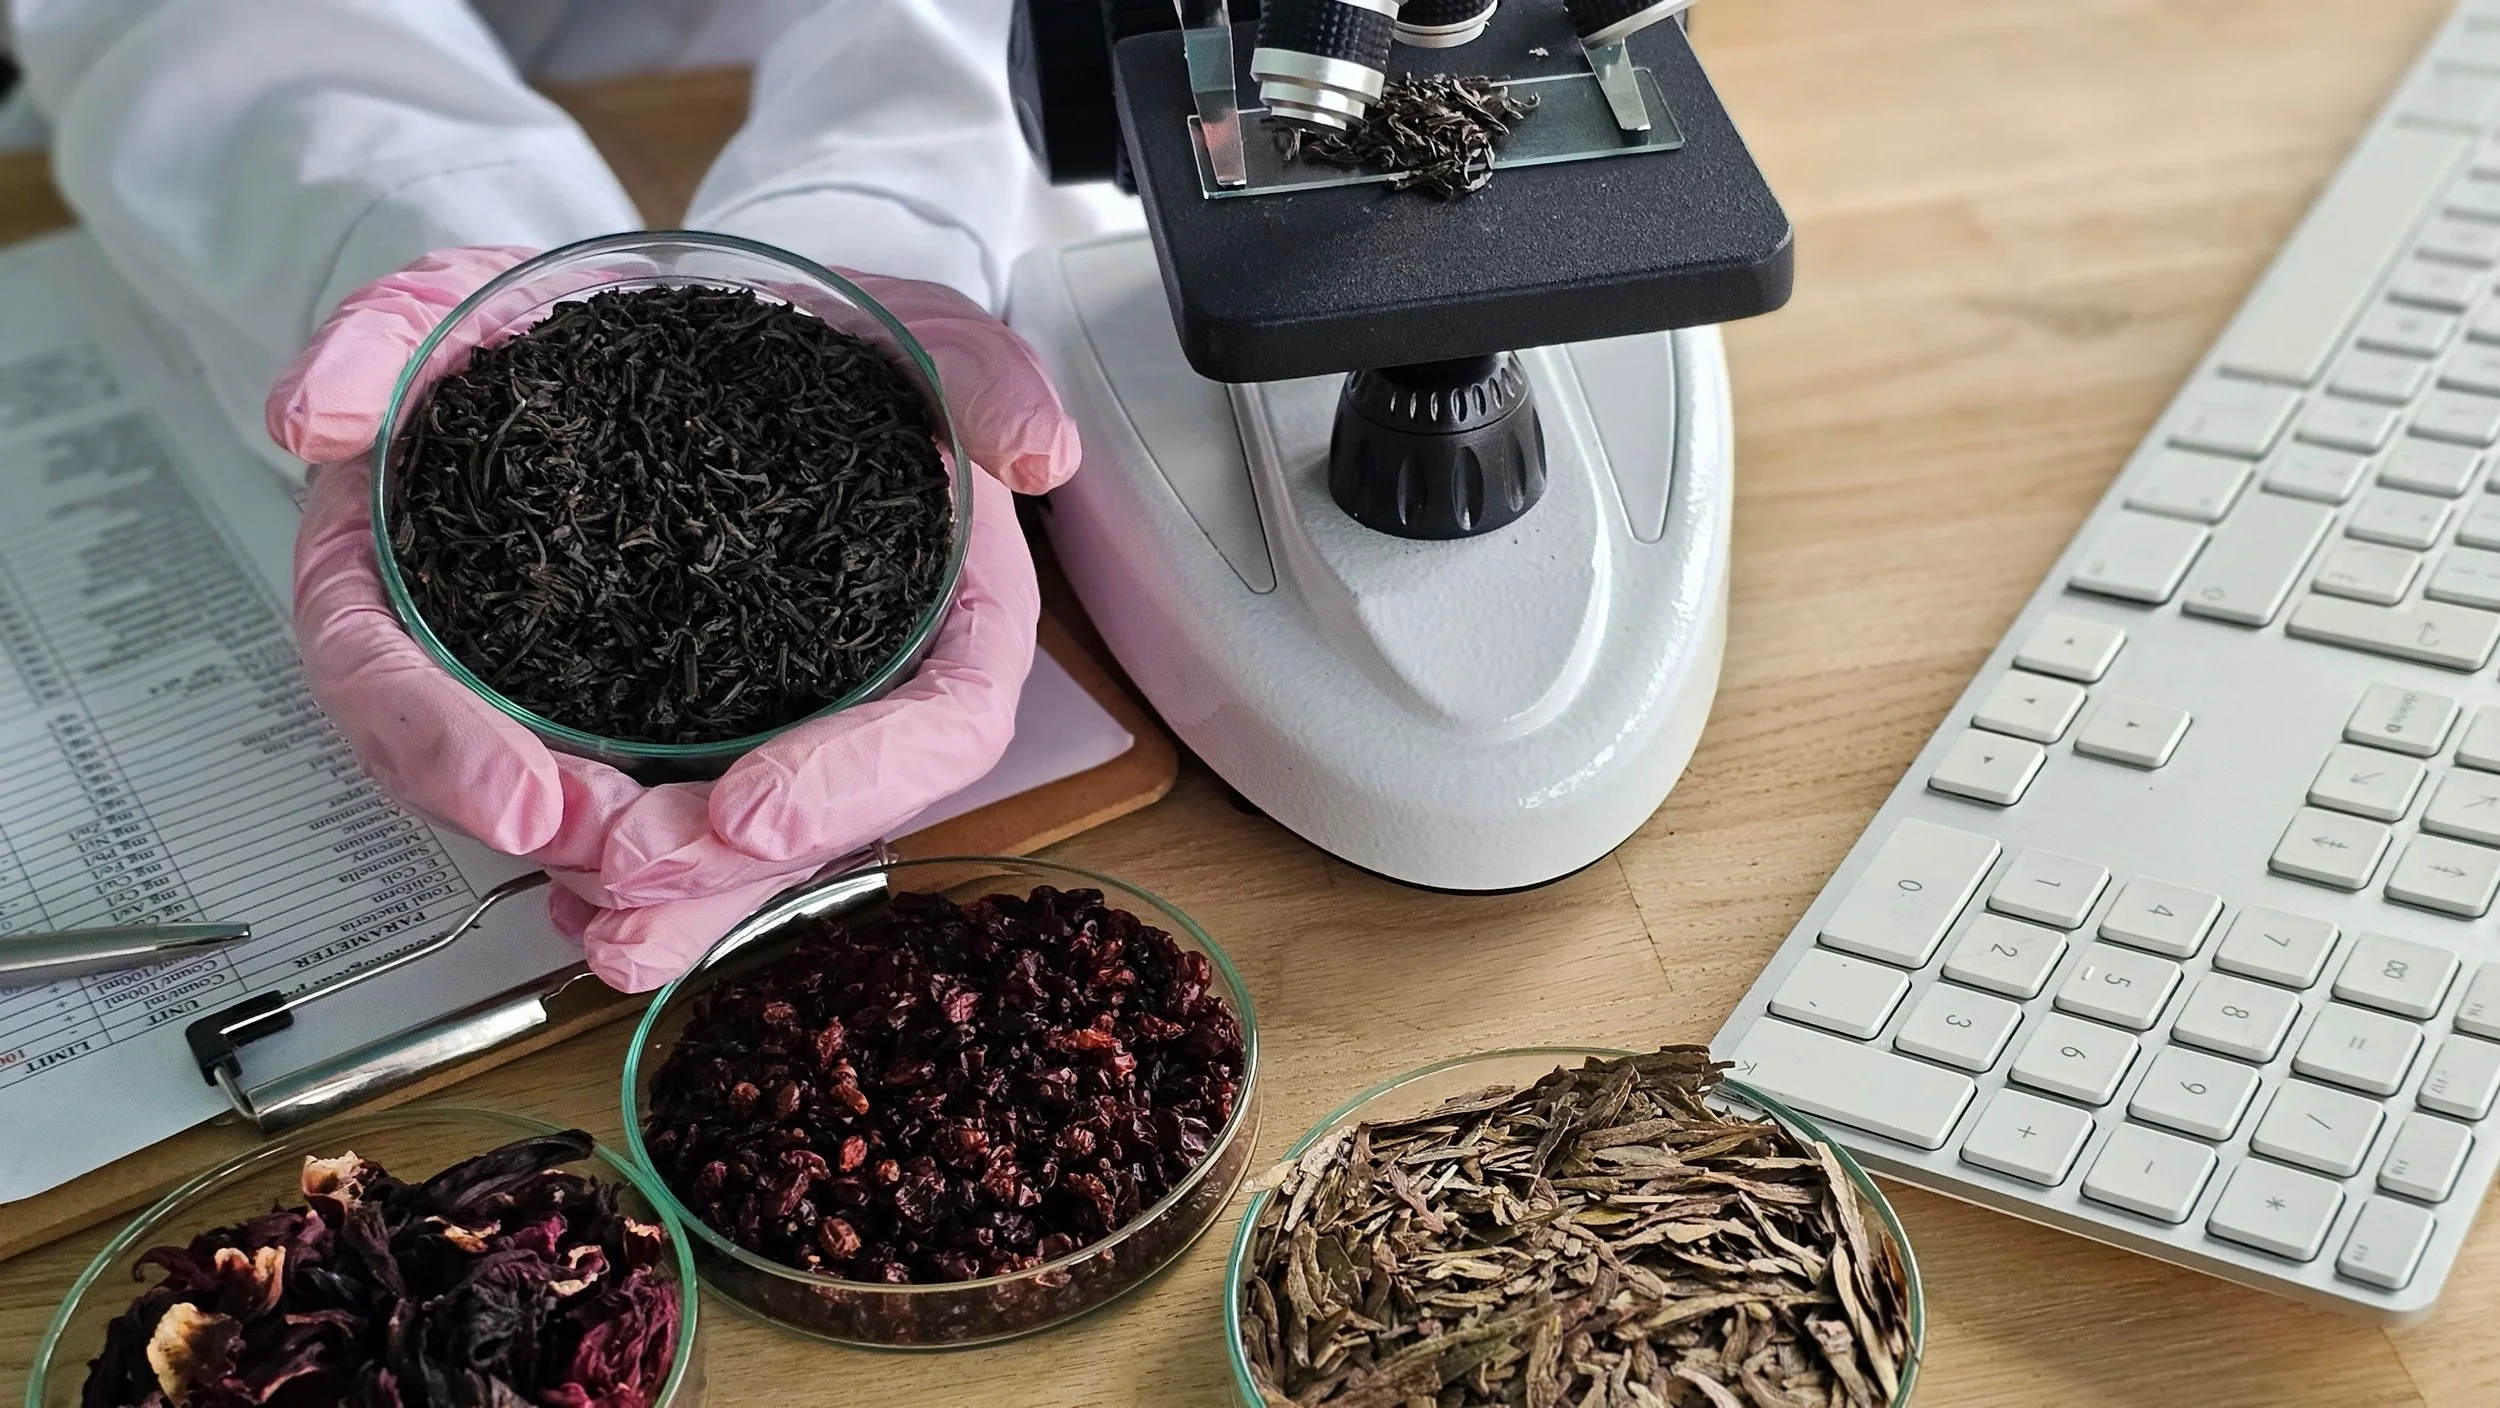
Ensure that your herbs are completely dry by checking that they’re crispy rather than merely brittle. Once dried, store the herbs in airtight containers away from direct light. This practice preserves potency and keeps your fresh-to-dry conversion ratios consistent for future formulations.
5. Understanding Conversion Ratios
Experiment with small batches to fine-tune the conversion ratio for each herb. The common baseline is a 3:1 ratio (fresh to dry), but your documentation and observations may reveal variations unique to each plant. For more insights, check out my post on Determining Herbal Concentration for a deeper dive into optimizing herbal formulations.
Applying Consistency in Your Formulations
When adapting recipes to include dried herbs, recalibrate your dosages to account for water loss. This adjustment ensures that the active compounds remain effective, which is especially important in therapeutic applications. By maintaining accurate conversion ratios, you build trust with your clients and create a solid foundation for your herbal practice.
The journey from fresh herb to a dry, potent botanical is both an art and a science. Mastering this conversion process enhances the stability, potency, and overall consistency of your herbal products. With a clear understanding of each drying method and its impact on herb quality, you’re well-equipped to explore more advanced techniques and creative approaches in modern herbalism.


Read More!


Hello and welcome! I'm Eve, a Chemist turned Herbalist, sharing the wonders of plant medicine and botanical skincare. Join me on this journey to Learn, Create, and Align your Divine!