
Flower Power Oil Infusion: Unlock Youthful Skin with Herbal Magic
Skill: Creating Herbal Oil Infusions
Discover the age-defying secret of herbal oil infusions with our Flower Power Oil Infusion recipe! This formulation focuses on creating oil infusions that harness the benefits of flowers like lavender, rose, and calendula to revitalize your skin. You will learn how to select the right herbs and carrier oils, understand the properties and benefits of each, and master the techniques for making effective oil infusions. Embrace the endless possibilities of herbal remedies and elevate your skincare routine with this enchanting anti-aging blend.
Are you ready to discover an age-defying secret? This week, I'm sharing an incredible recipe for an herbal oil infusion that fights the signs of aging. This recipe is near and dear to my heart, I make a batch every year to share with family. As I am about to strain the last batch I made I figured it's time to share the magic!
Harnessing the Power of Flowers
This recipe leverages the power of lavender, rose, and calendula to create an infusion that not only smells divine but also revitalizes your skin. Each flower brings its unique benefits, making this infusion perfect for all skin types. In this post, I'll explain how these herbs work their anti-aging magic and guide you through making your own infusions. Let's embark on this journey together!
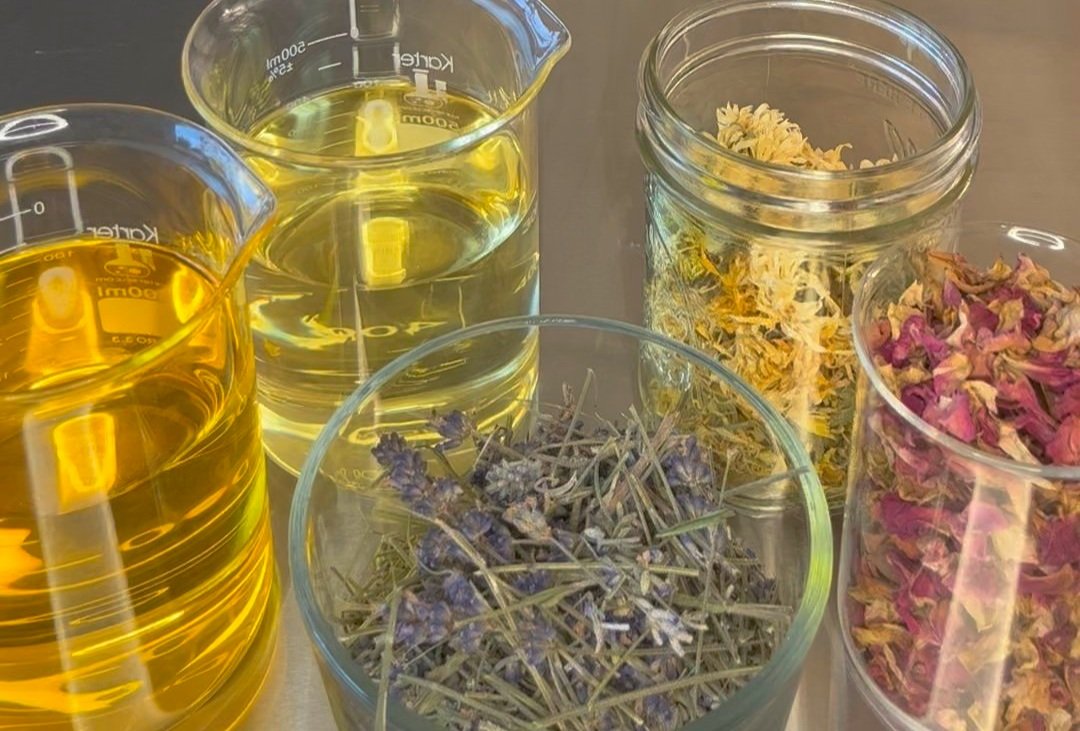
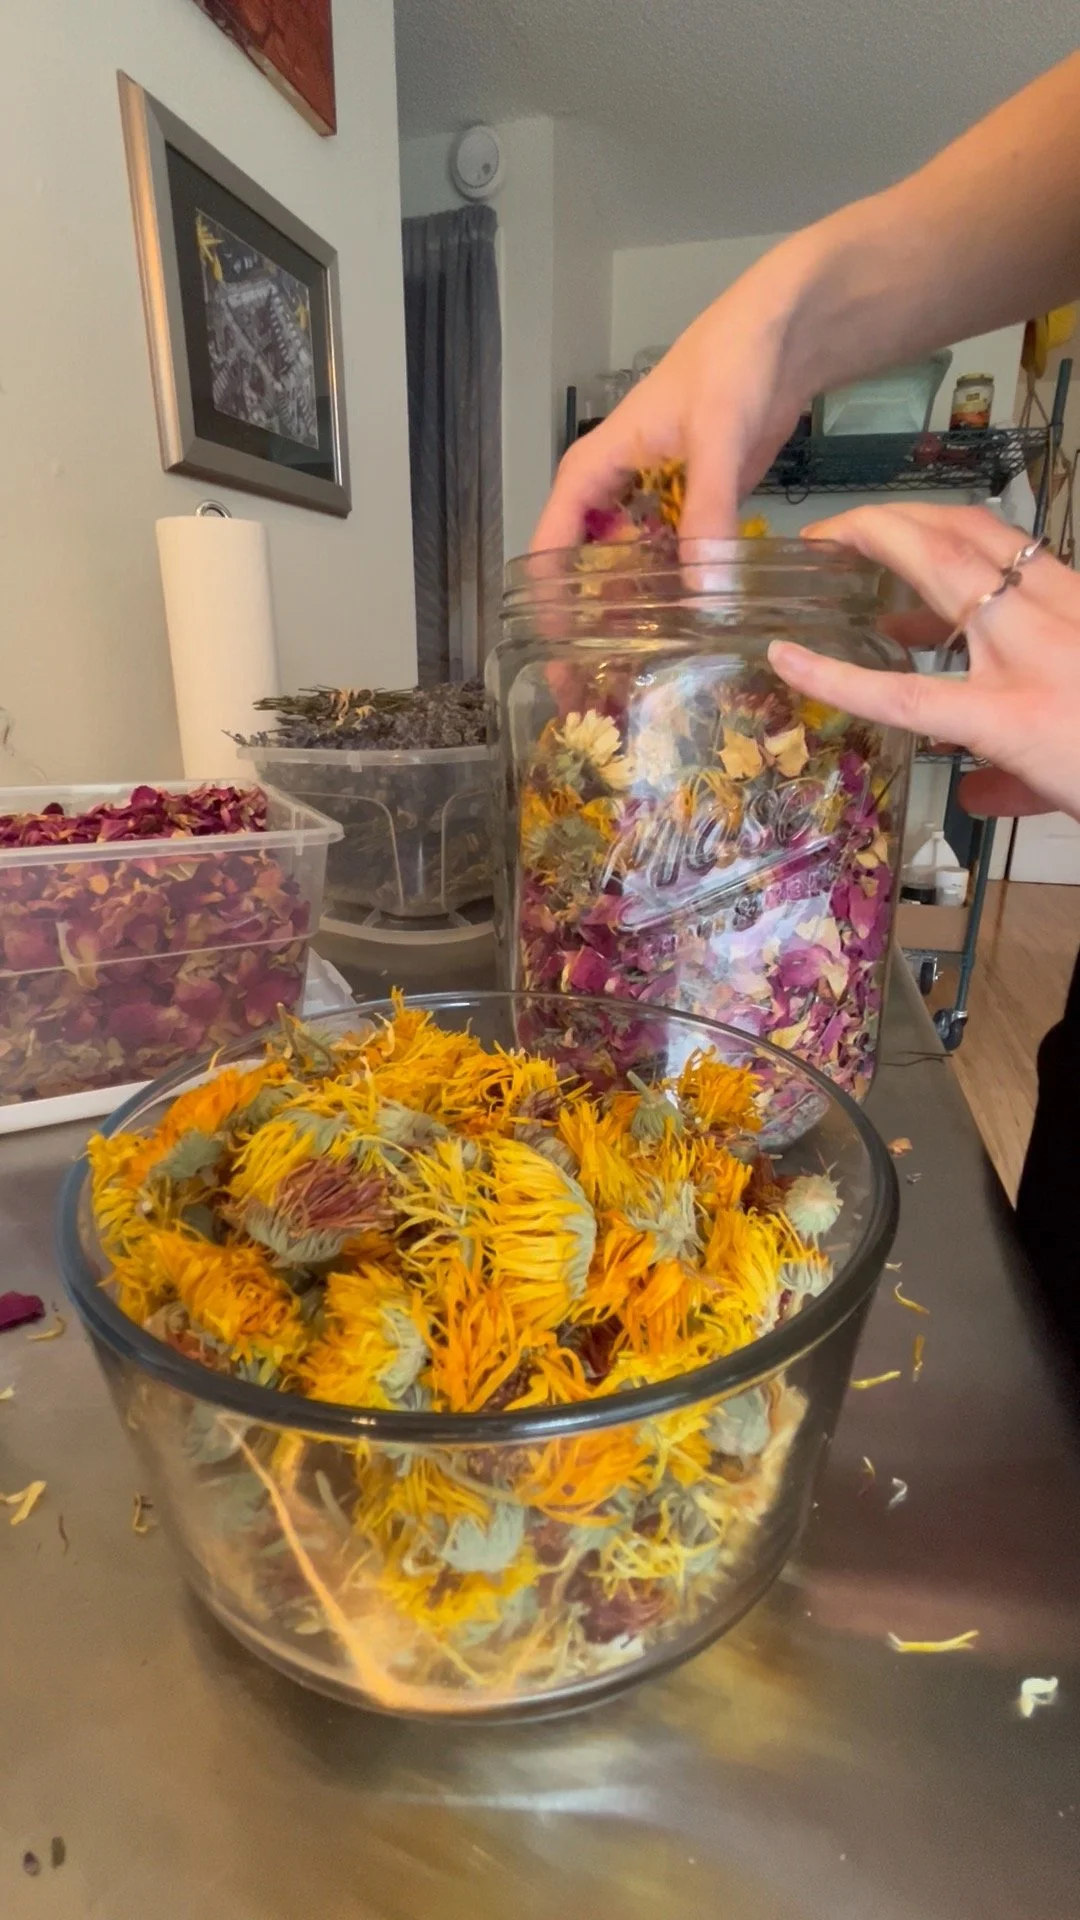
Flowers and oil for infusion
Fight Aging with Flower Power
Aging is a natural part of life, and with it comes wrinkles. But fear not—herbs can help you age gracefully! As we age, our skin loses its ability to retain moisture and produce collagen, leading to wrinkles. However, certain herbs can nourish our skin, improve its texture, and reduce the appearance of wrinkles. Certain herbs however are able to nourish our skin and improve its texture so that the appearance of wrinkles is diminished. My favorite herbs for this process are lavender, calendula, and rose. Each has different effects on the skin, but all three are amazing for promoting healthy and supple skin.
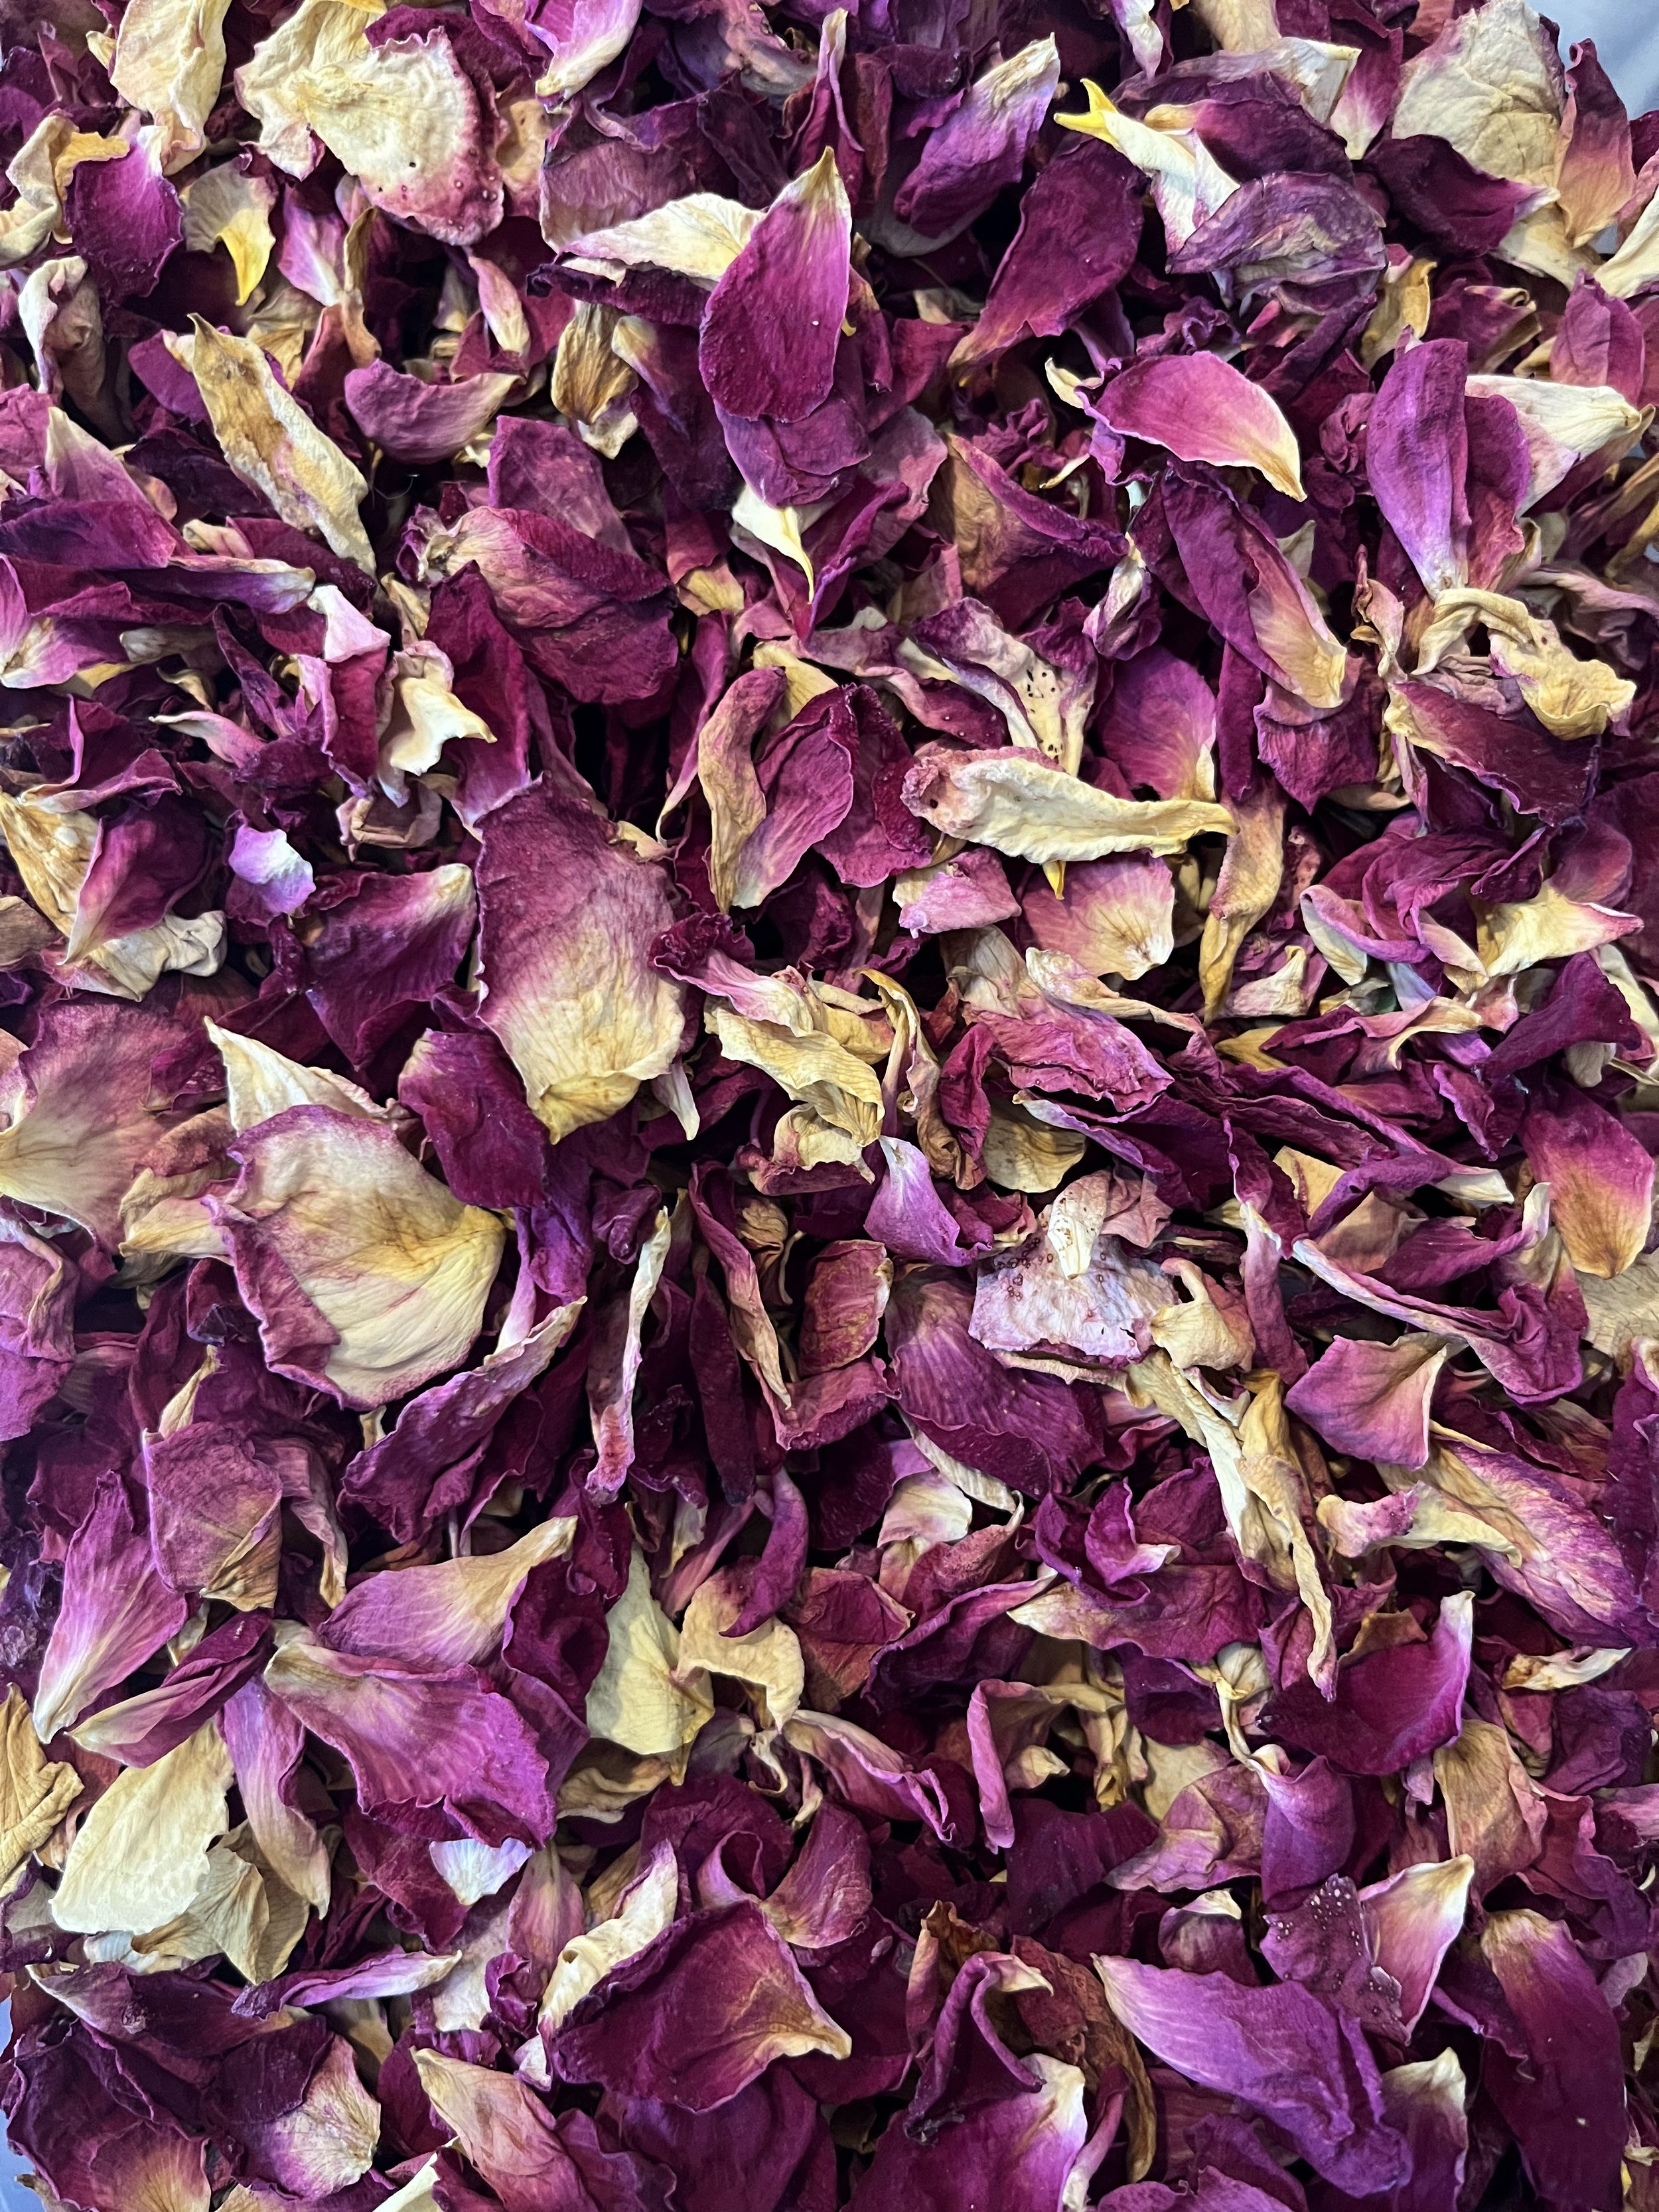
Rose petals
The Benefits of Rose
Rose petals are a cherished ingredient in anti-aging formulas due to their remarkable properties. Here's how they work their magic:
Antioxidant Power: Packed with vitamins C and E, roses protect the skin from free radical damage, reducing the signs of aging.
Hydration Boost: Natural hydrating properties help maintain the skin's moisture balance, keeping it plump and smooth.
Anti-Inflammatory Properties: Soothe irritated skin, reduce redness, and promote an even skin tone.
Collagen Production: Vitamin C aids in collagen production, maintaining skin elasticity and firmness.
Gentle Exfoliation: Natural acids in rose petals provide gentle exfoliation, removing dead skin cells and promoting cell turnover.
Antimicrobial Benefits: Keep the skin clear and free from infections or breakouts.
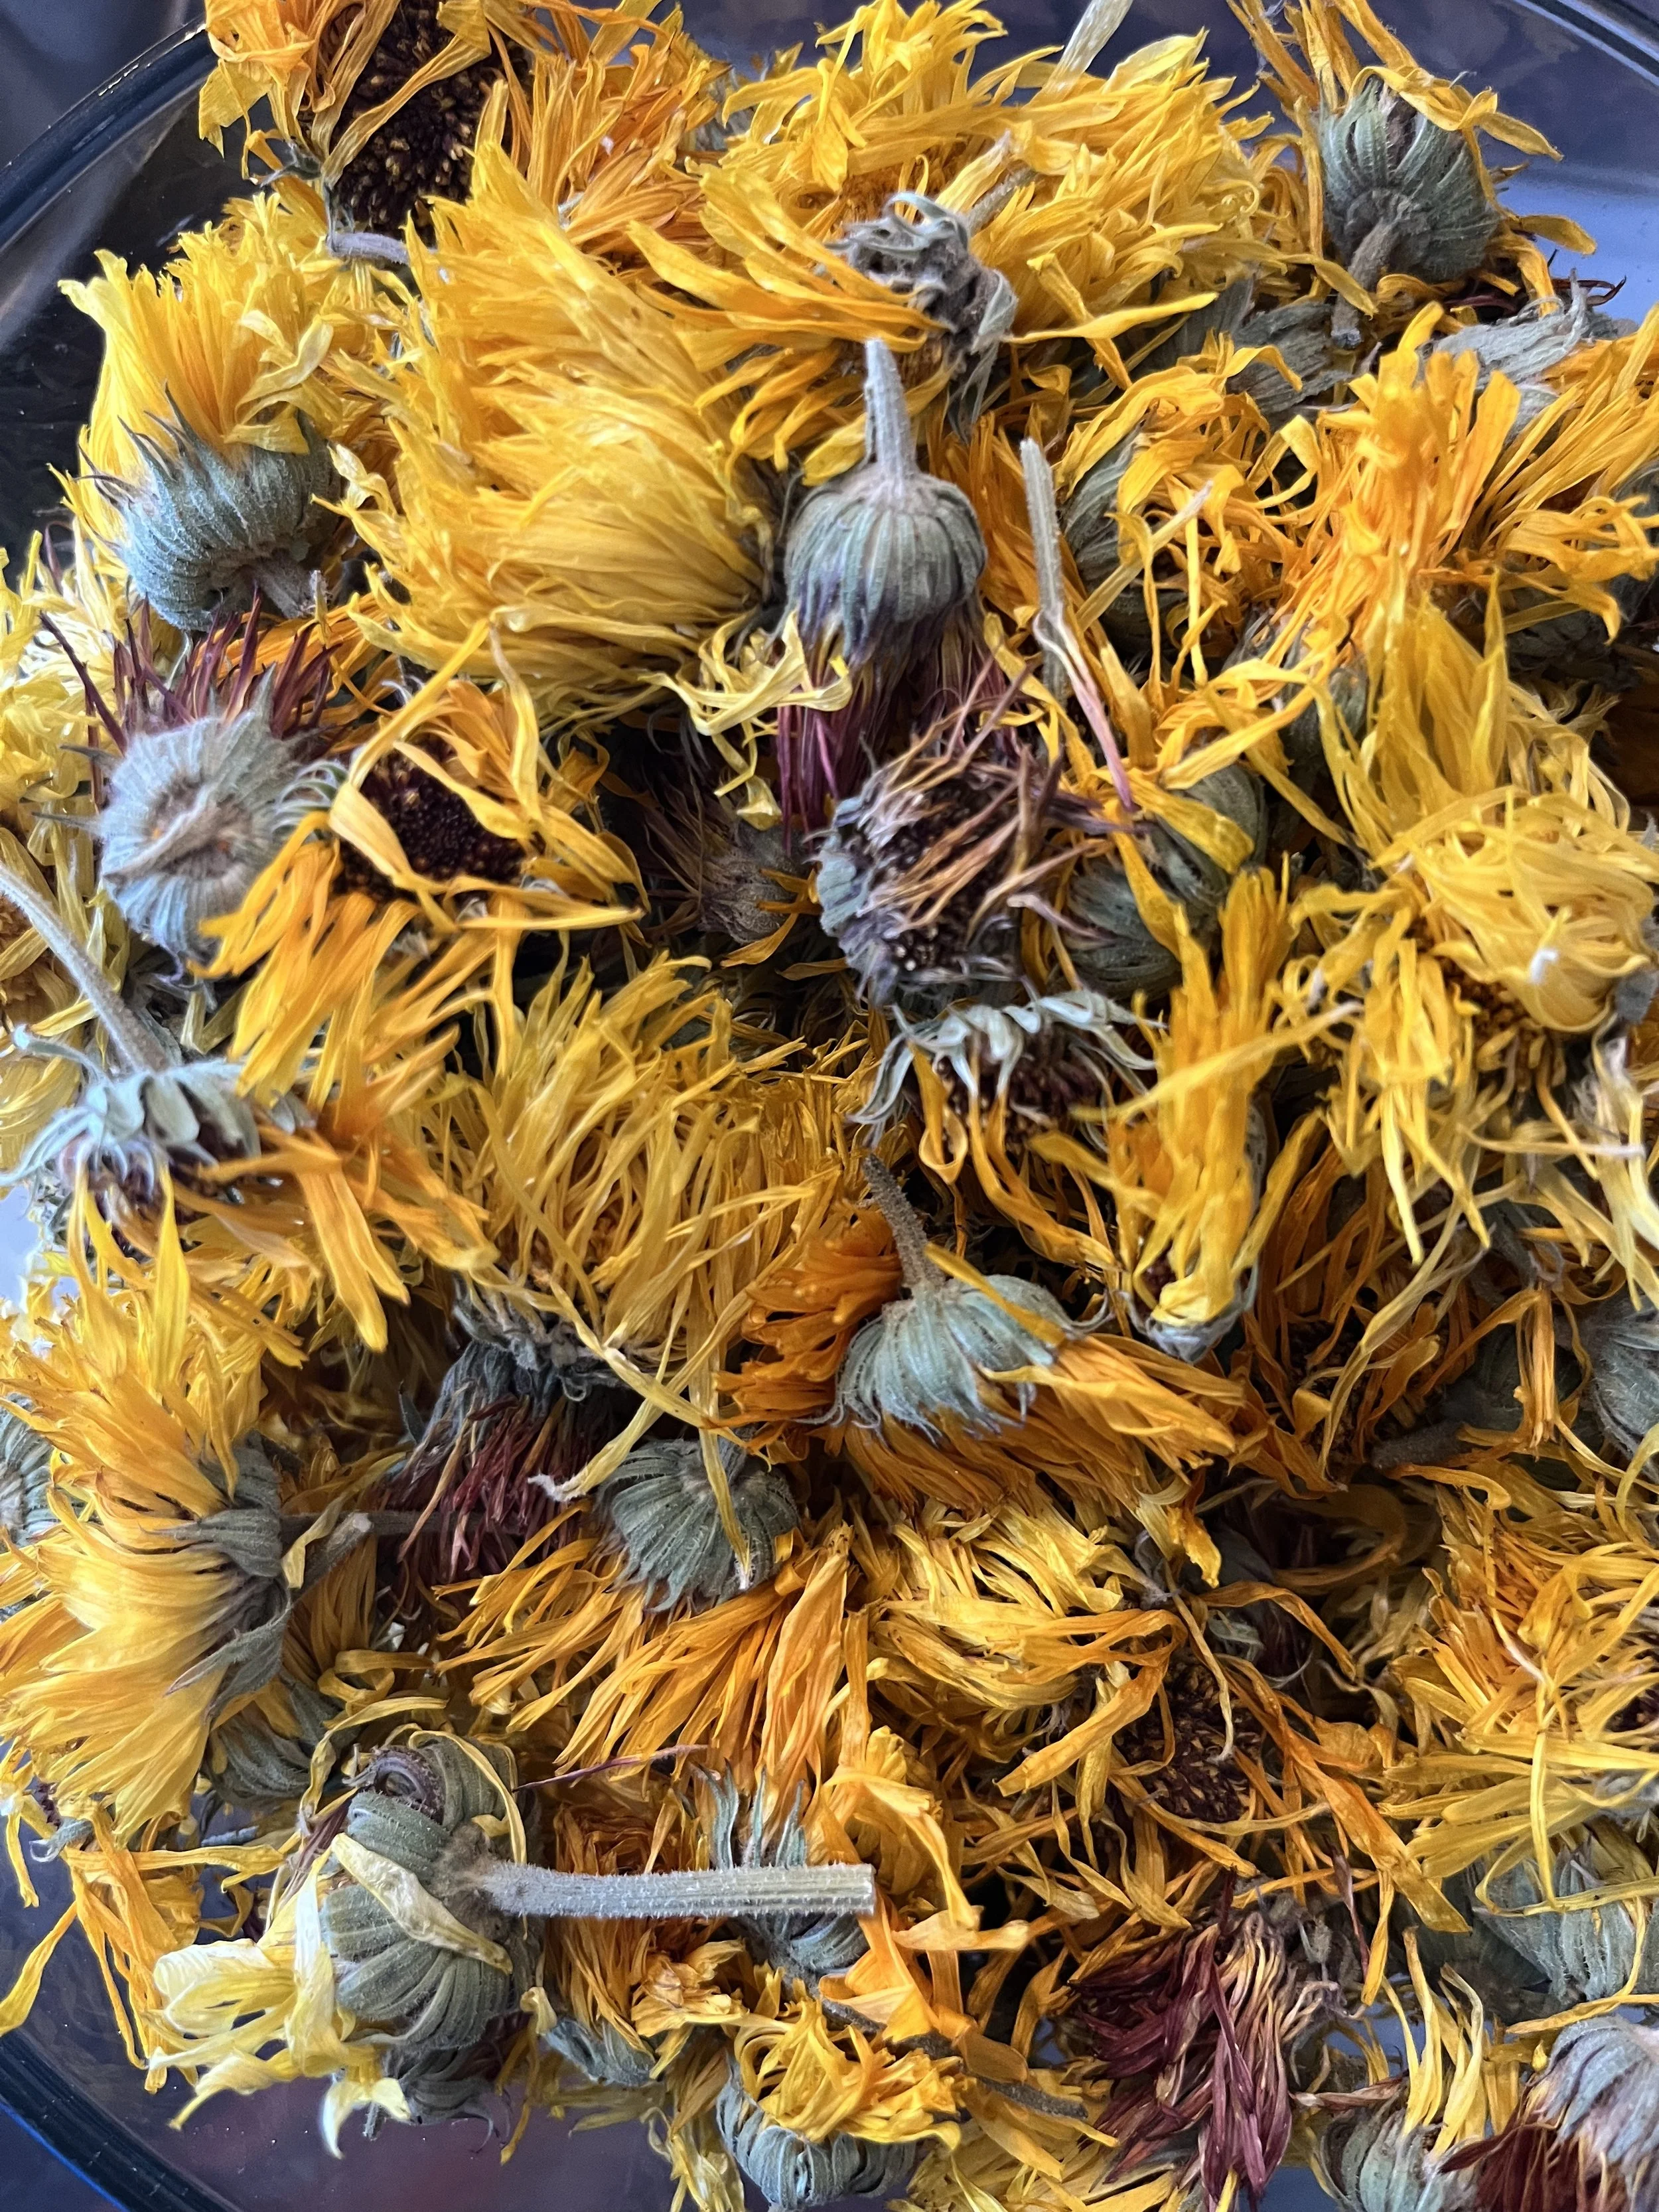
Calendula blossoms
The Benefits of Calendula
Incorporating calendula into anti-aging formulas provides a soothing, healing, and rejuvenating effect on the skin:
Healing and Regeneration: Stimulates collagen production, repairing damaged skin and improving texture.
Anti-Inflammatory Properties: Powerful compounds soothe irritated skin, reduce redness, and calm conditions like eczema.
Antioxidant Rich: Protects the skin from free radical damage, preventing premature aging.
Hydration and Moisture Retention: Locks in moisture, keeping the skin plump and hydrated.
Antimicrobial and Antibacterial: Keeps the skin clear and free from infections.
Skin Brightening: Evens out skin tone and brightens the complexion, reducing age spots and hyperpigmentation.
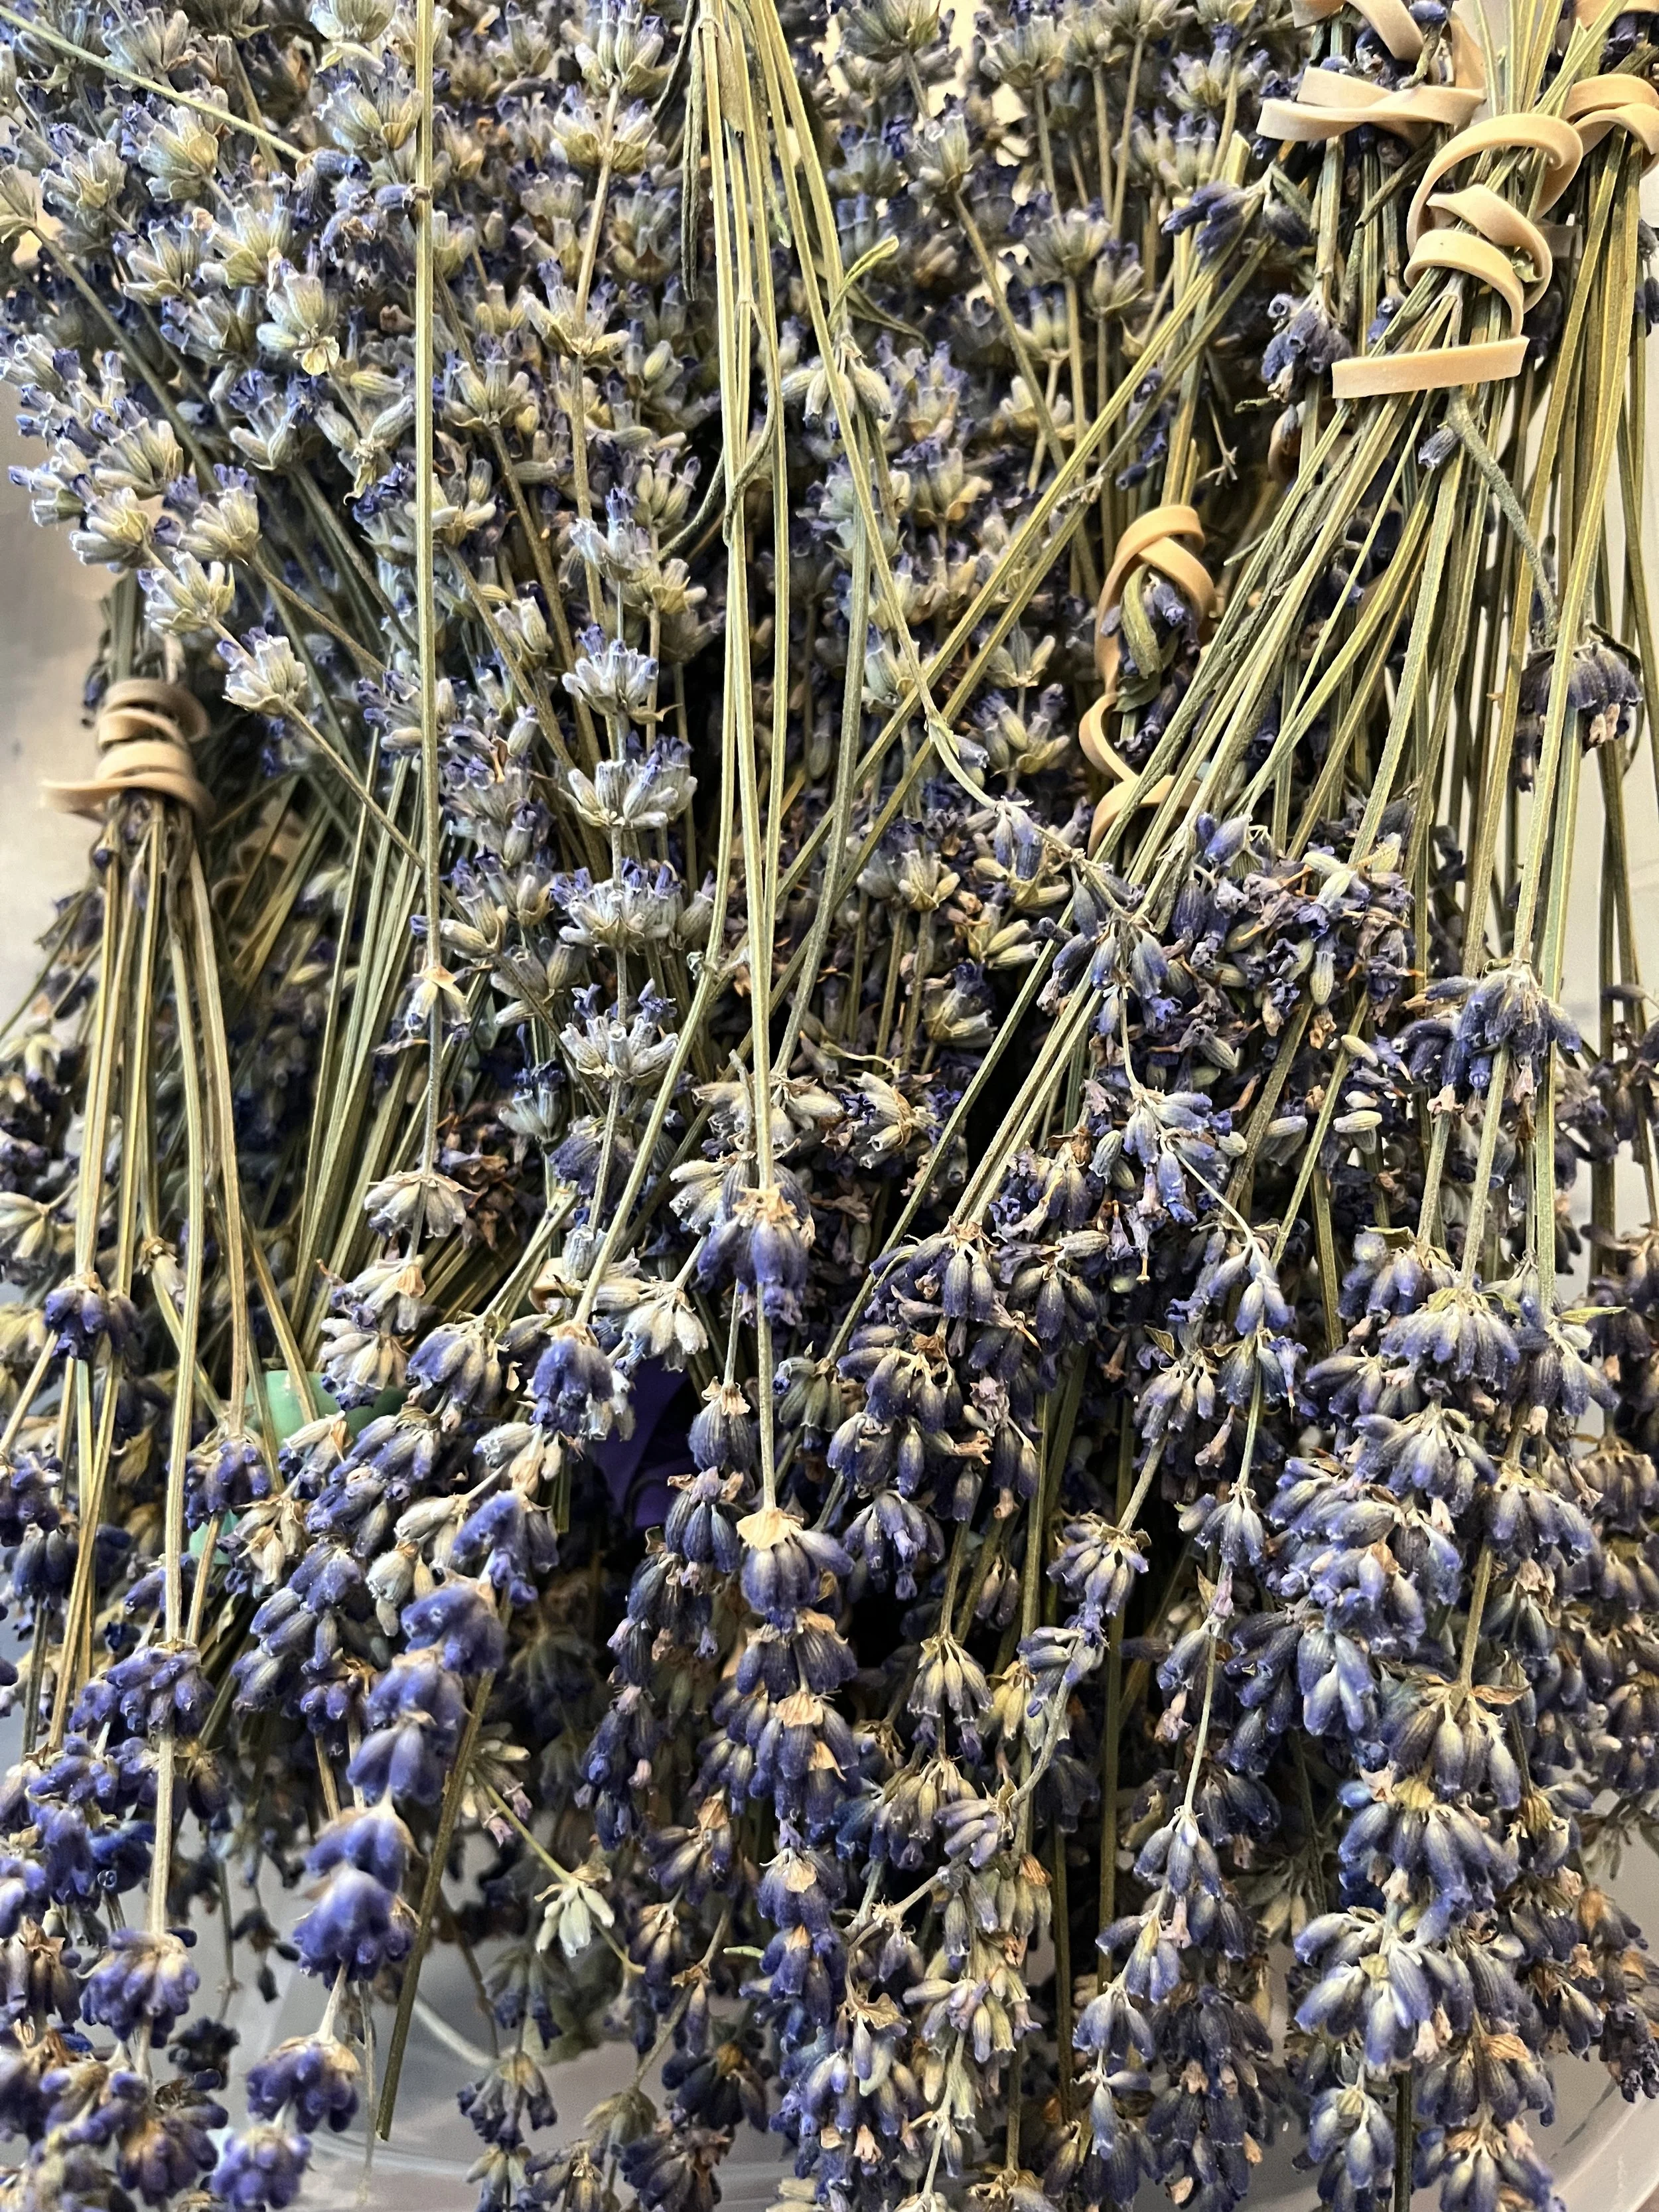
Lavender flowers
The Benefits of Lavender
Our last flower lavender is one I'm sure you are familiar with! This enchanting herb is renowned for the following skin benefits:
Calming and Soothing: Reduces skin irritation, redness, and inflammation, perfect for sensitive and aging skin.
Antioxidant Rich: Protects the skin from free radical damage, maintaining a youthful complexion.
Promotes Healing: Stimulates cell growth, repairing damaged skin cells and reducing scars and fine lines.
Antimicrobial and Antibacterial: Keeps the skin clear and free from infections.
Hydration and Moisture Retention: Hydrates the skin, keeping it plump and smooth.
Balancing Skin Tone: Balances the skin’s natural oils, promoting an even skin tone and a radiant complexion.
The Science Behind the Infusion
Oil infusions capture the essential oils from herbs, allowing them to be safely applied directly to the skin. Normally, when working with pure essential oils, you have to dilute them first to avoid irritation. This is not the case with oil infusions! Because the amount of essential oil extracted into your carrier oil is already small, you can safely apply them directly to the skin with no risk.
Properties of the Oil Menstruum
The choice of carrier oil, also known as the menstruum, is crucial in an infusion (learn more about menstruums here!) Different oils have unique properties that enhance the infusion's effectiveness. For instance, olive oil is deeply moisturizing and anti-inflammatory, while jojoba oil balances oil production and soothes irritation. The menstruum not only acts as a solvent, extracting the beneficial compounds from the herbs but also contributes its own nourishing properties, making the infusion even more effective.
Choosing the Right Oil
Here are five different oils you can use for the infusion, each with unique benefits:
1. Olive Oil
Properties: Rich in vitamins A, D, E, and K; high in antioxidants.
Benefits: Deeply moisturizing, anti-inflammatory, and helps in skin repair. Great for dry and mature skin.
2. Jojoba Oil
Properties: Similar to the skin’s natural sebum; contains vitamins E and B-complex.
Benefits: Balances oil production, soothes irritated skin, and provides long-lasting moisture. Suitable for all skin types, especially oily or acne-prone skin.
3. Sweet Almond Oil
Properties: Rich in vitamins E, A, and fatty acids.
Benefits: Nourishes and softens the skin, reduces the appearance of scars and dark circles, and provides lightweight moisture. Great for all skin types, especially sensitive skin.
4. Grapeseed Oil
Properties: Light texture; high in vitamin E and essential fatty acids.
Benefits: Tightens and tones the skin, balances oil production, and has anti-inflammatory properties. Excellent for oily and acne-prone skin.
5. Rosehip Oil
A big batch of this infusion
Properties: High in vitamins A and C; rich in essential fatty acids.
Benefits: Brightens and evens skin tone, reduces scars and fine lines, and promotes skin regeneration. Great for all skin types, particularly beneficial for aging and scarred skin.
Anti-aging Oil Infusion
Ingredients for 16-24oz infusion
¼ cup lavender buds
¼ cup rose petals
¼ cup calendula blossoms
Oil to cover (at least 2 cups, depending on jar size)
Note: This recipe is flexible—use what you have on hand. Herbalism is an art rather than a science, and perfection is not the goal!
Procedure
For a quick guide, see my page on Oil and Butter Infusions. Here’s a more detailed rundown:
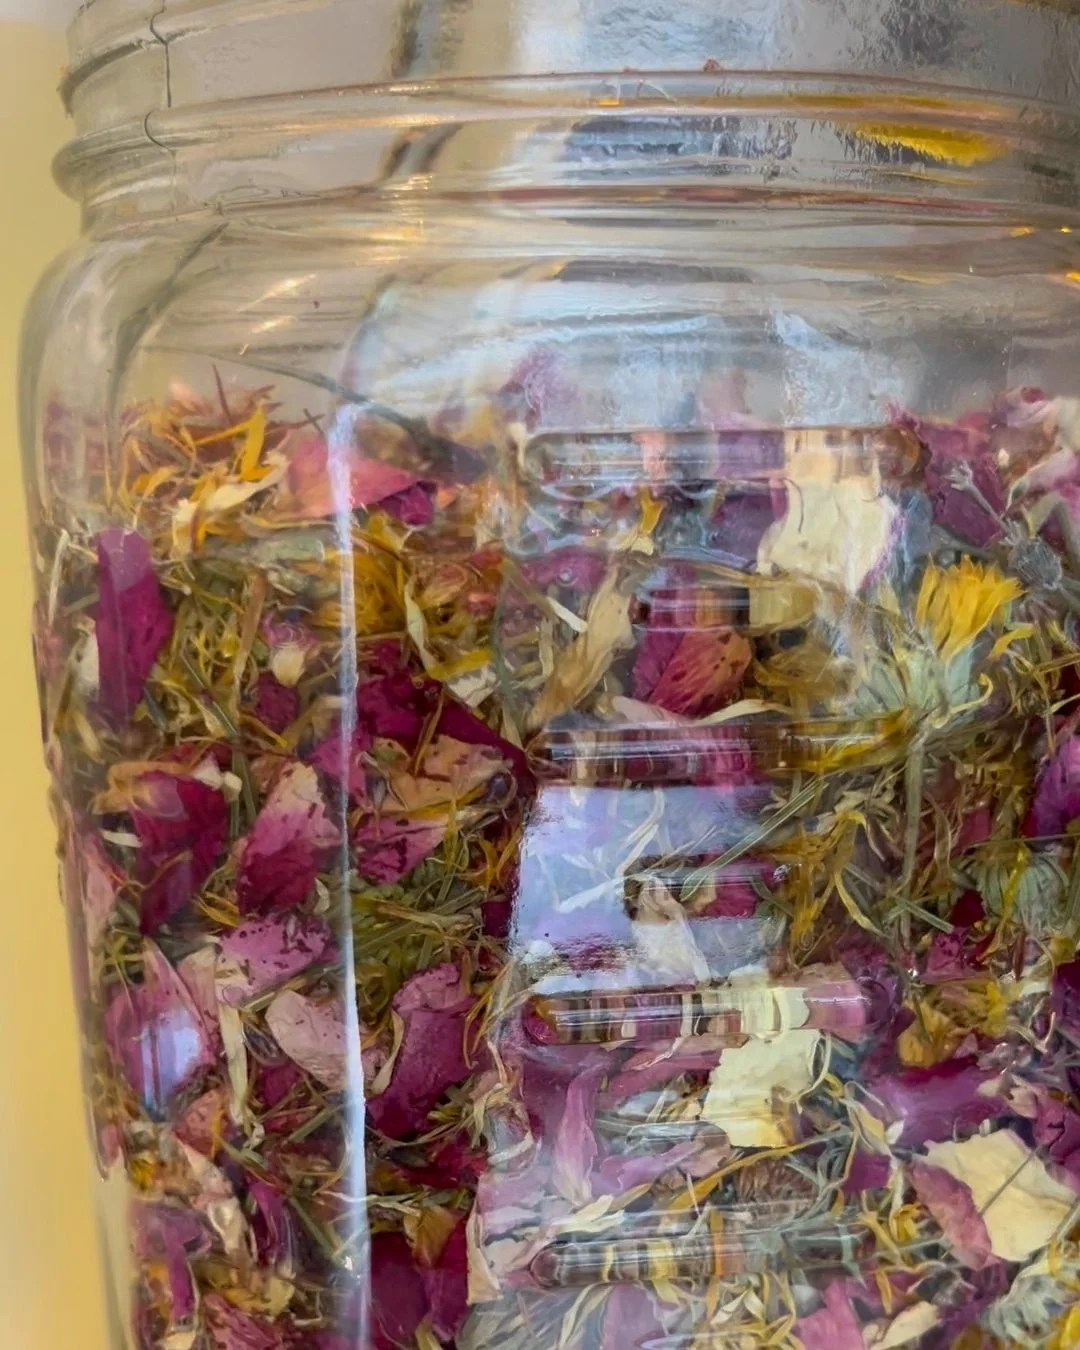
Room Temp Infusion:
Obtain Dried Plant Material: Gather your chosen dried herbs—rose, lavender, and calendula flowers. Ensure they are completely dry to prevent any moisture from spoiling the infusion. This is an oil infusion so water is not our friend here!
Prepare the Airtight Container: Place the dried plant material in an 16-24oz airtight glass jar. This prevents air and moisture from entering, maintaining the integrity of the infusion. We are also going to be shaking our jar daily so no leakage is important or else you'll have an oily mess on your hands!
Add the Menstruum: Pour your chosen carrier oil (like olive, jojoba, or coconut oil) over the herbs until they are fully submerged. Fill your jar until you have 1-2 inches of headspace between the oil and the top of the jar. The oil acts as the solvent, extracting the beneficial compounds from the plant material.
Seal and Mix: Seal the container tightly to avoid any air exposure. Shake the container gently to ensure the herbs are evenly distributed in the oil.
Daily Agitation: Shake the container once a day for 2-6 weeks. This agitation helps in the extraction process, ensuring that the herbs are thoroughly infused into the oil.
Strain the Oil: Once the infusion period is complete, strain the oil using a fine mesh sieve or cheesecloth to remove the plant material. Pour the strained oil into a clean, sterilized bottle or container.
Final Product: And voilà! Your herbal oil infusion is ready to use. Store it in a cool, dark place to maintain its potency and shelf life.
Heat Assisted Infusion:
Obtain Dried Plant Material: Gather your chosen dried herbs—rose, lavender, and calendula flowers. Ensure they are completely dry to prevent any moisture from spoiling the infusion.
Prepare the Bowl: Place the dried plant material in a heat-resistant bowl. This container will hold the herbs and oil during the heating process.
Add the Menstruum: Pour your chosen carrier oil (like olive, jojoba, or coconut oil) over the herbs until they are fully submerged. The oil acts as the solvent, extracting the beneficial compounds from the plant material.
Set Up a Double Boiler: Fill a pot with water and place it on the stove over medium-low heat. Position the bowl with the herbs and oil over the pot, ensuring the bottom of the bowl does not touch the 5. water. The double boiler method provides gentle, even heat to the infusion.
Apply Low Heat: Maintain a low heat and allow the mixture to infuse for 6-8 hours. Stir the contents regularly to ensure even distribution of heat and to assist in the extraction process. Be cautious not to overheat, as high temperatures can degrade the oil and the beneficial compounds of the herbs.
Strain the Oil: Once the infusion period is complete, carefully remove the bowl from the heat. Strain the oil using a fine mesh sieve or cheesecloth to remove the plant material. Pour the strained oil into a clean, sterilized bottle or container.
Final Product: And voilà! Your herbal oil infusion is ready to use. Store it in a cool, dark place to maintain its potency and shelf life.
I hope this guide has inspired you to try making your own infusions at home. Remember, herbalism is an art, and there's room for creativity and personal touch in every batch. Share your creations with loved ones and enjoy the journey of discovery and transformation.
Thank you for joining me on this exploration of natural beauty remedies. Here's to radiant, healthy skin and the timeless power of nature!